
 Save
Save
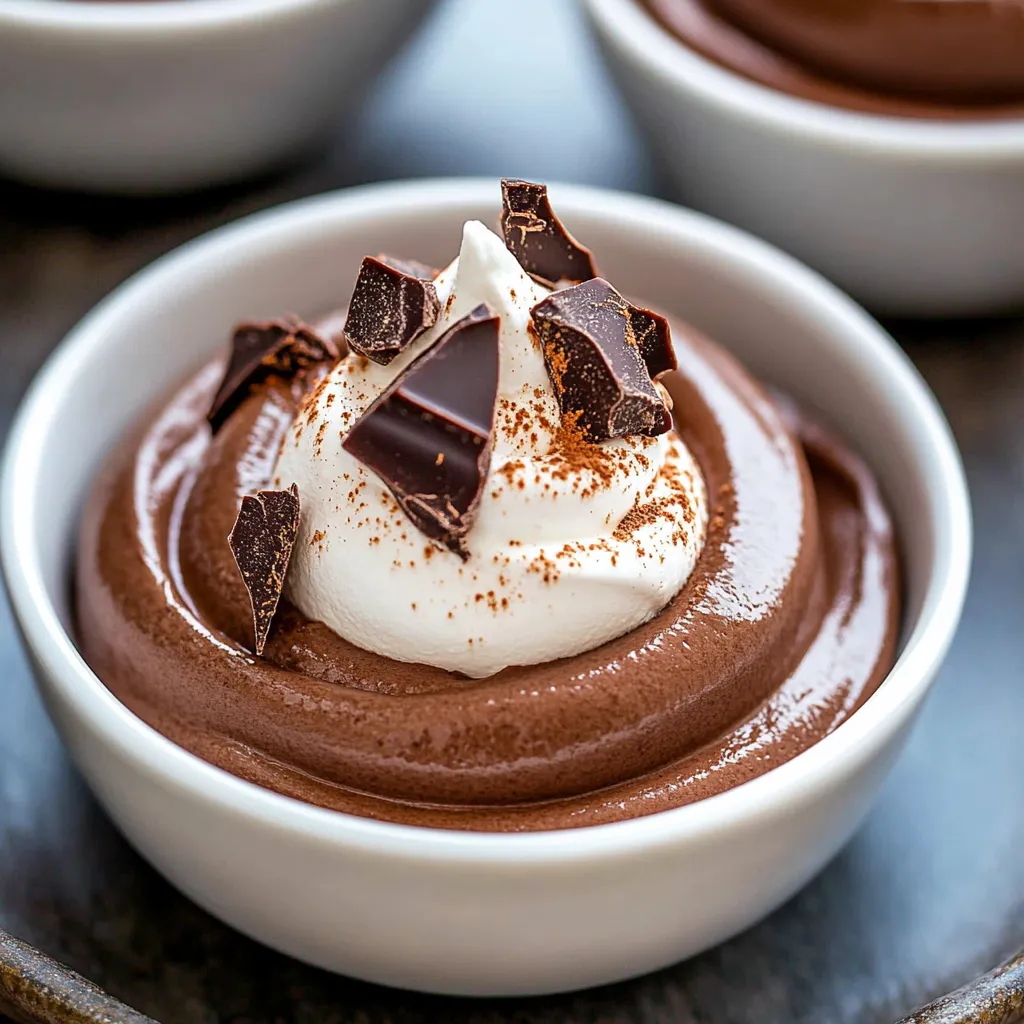
This chocolate mousse recipe delivers the perfect balance of light, airy texture with rich chocolate flavor, all without using raw eggs. I've been making this for special occasions and impromptu dinner parties for years, and it never fails to impress even my most discerning guests.
I first discovered this recipe when planning a dinner party for a pregnant friend who couldn't eat traditional mousse with raw eggs. It's since become my go-to chocolate dessert that pleases both kids and adults alike.
Ingredients
- Bittersweet baking chocolate provides depth and rich chocolate flavor without excessive sweetness
- Semisweet baking chocolate balances the bitterness with just enough sweetness
- Mini marshmallows create that signature fluffy texture without raw eggs
- Milk helps thin the chocolate mixture for proper folding
- Heavy whipping cream forms the foundation of that light airy texture
- Granulated sugar sweetens the whipped cream perfectly
- Vanilla extract enhances all the flavors and adds subtle complexity
Step-by-Step Instructions
- Melt The Base
- Place your chopped chocolates, mini marshmallows, and milk in a large heavy saucepan. Use low heat and stir constantly until everything melts together completely. The constant stirring prevents scorching and ensures a smooth mixture. This will take about 5-7 minutes for a perfectly silky base.
- Cool Completely
- Allow the chocolate mixture to cool to room temperature. This step cannot be rushed as warm chocolate will deflate your whipped cream and ruin the mousse texture. I typically transfer it to a wide bowl and let it sit for about 30 minutes, stirring occasionally to release heat.
- Whip The Cream
- In a large bowl, combine the heavy cream, sugar, and vanilla. Beat until soft peaks form. This means when you lift the beater, soft peaks will form that gently curl over at the tips. Be careful not to overwhip to stiff peaks or you risk creating butter.
- Reserve Topping
- Set aside about 3/4 cup of the whipped cream in the refrigerator. This will be your garnish when serving. Keeping it cold ensures it maintains its shape and texture until serving time.
- Fold And Combine
- Gently fold 2 cups of whipped cream into the cooled chocolate mixture. Use a rubber spatula and a light hand with an under-and-over motion rather than stirring. This preserves the air bubbles in the cream for a light texture.
- Chill And Serve
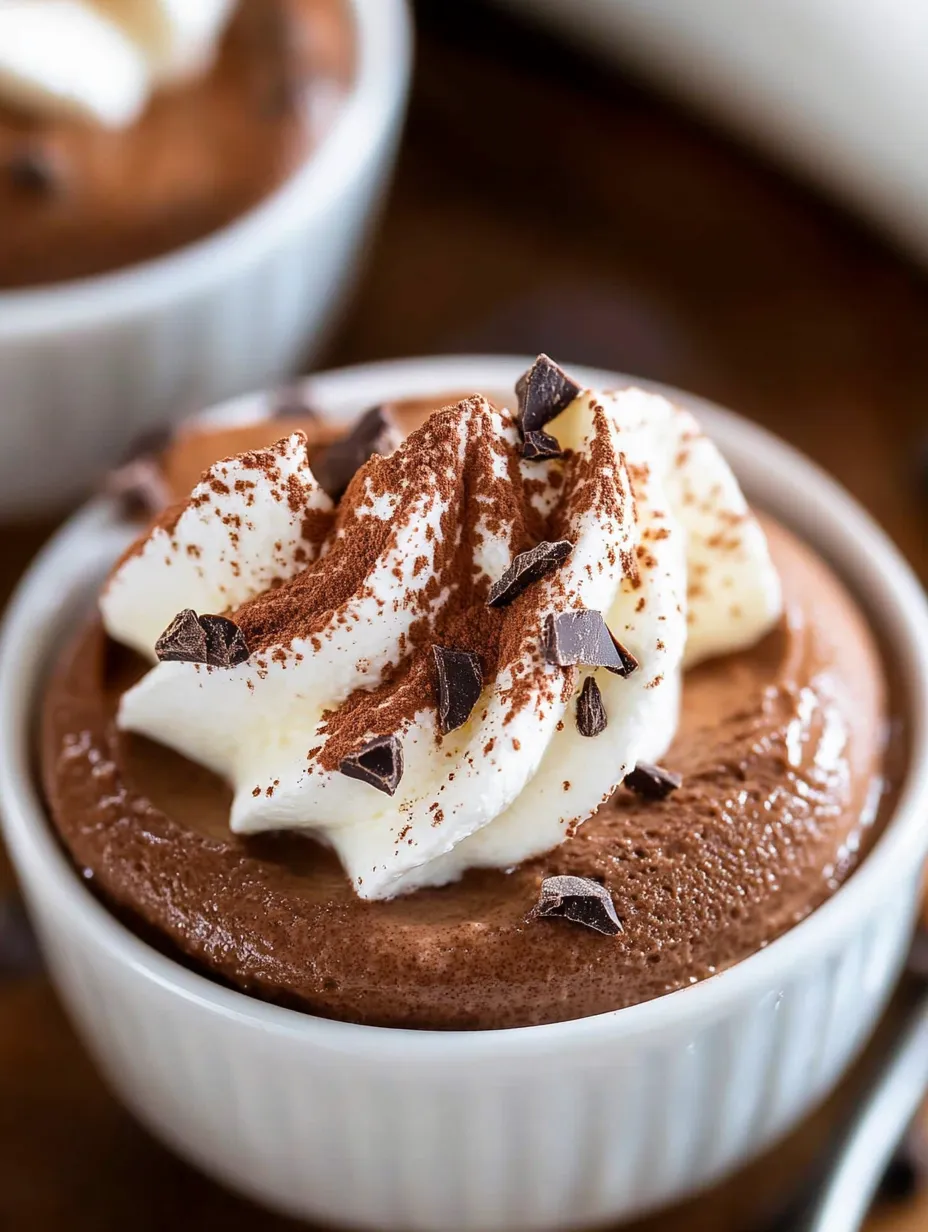
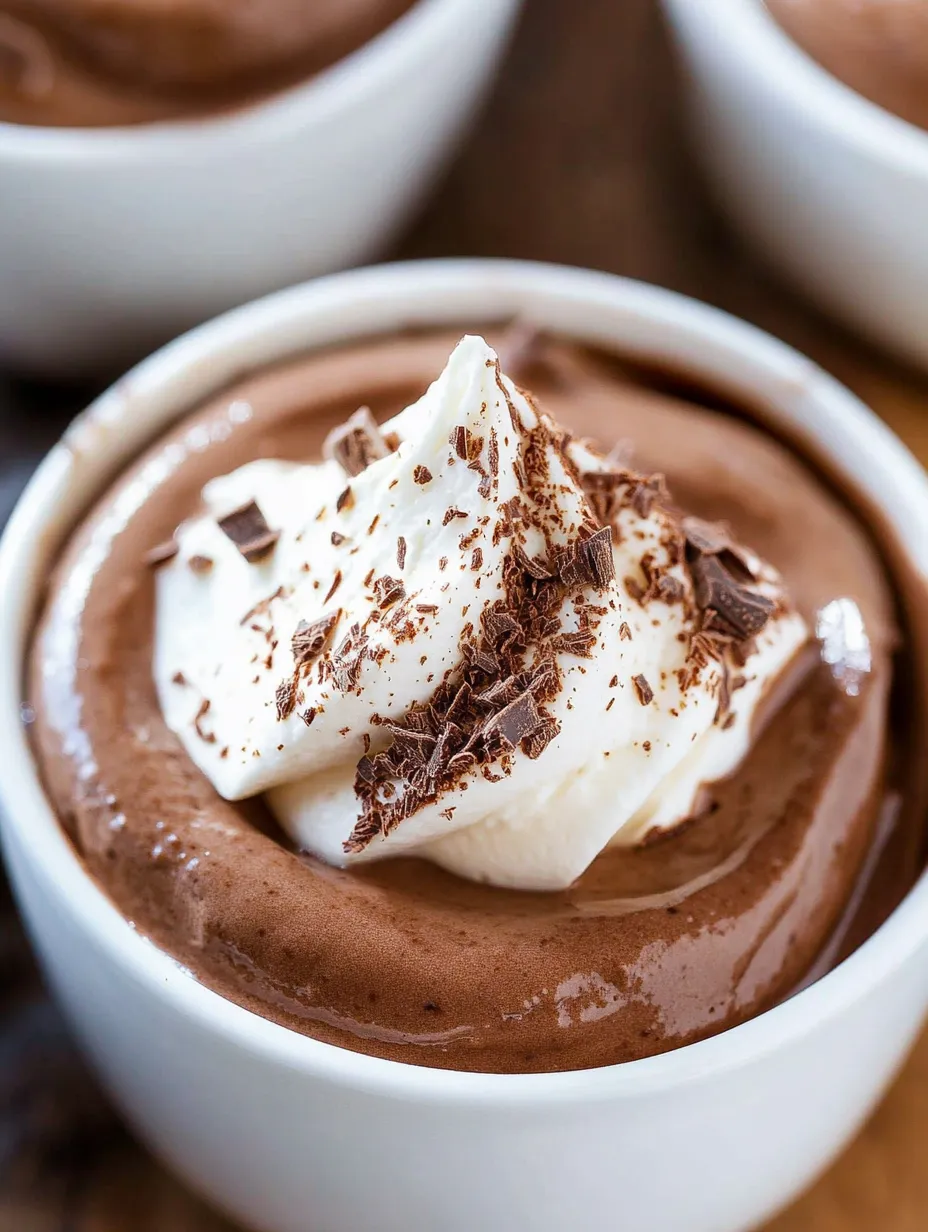
- Portion the mousse into individual serving dishes and refrigerate for at least 30 minutes before serving. Top each serving with a dollop of the reserved whipped cream just before bringing to the table.
 Save
Save
This chocolate mousse reminds me of my grandmother's recipe, though she always insisted on using a copper bowl for whipping cream. The mini marshmallows are my modern twist that creates the same silky texture without the traditional raw egg concerns.
Customizing Your Chocolate
The ratio of bittersweet to semisweet chocolate determines the sweetness level of your mousse. For a darker, more sophisticated flavor profile, use all bittersweet chocolate. If serving to children or those with a sweeter tooth, replace some bittersweet with semisweet or even milk chocolate. The quality of chocolate matters tremendously in this simple dessert, so use the best you can afford.
Storage and Make-Ahead Tips
This mousse keeps beautifully in the refrigerator for up to 3 days when stored in airtight containers. For the best presentation, I recommend preparing the base mousse in advance but waiting to top with the reserved whipped cream until just before serving. The texture actually improves after about 8 hours in the refrigerator as the flavors meld together. If making for a dinner party, prepare it the morning of or even the night before for hassle free entertaining.
Elegant Serving Ideas
Transform this simple dessert into an impressive finale by serving in clear glass cups or martini glasses to showcase the beautiful layers. For special occasions, I add chocolate shavings, fresh berries, or a sprinkle of sea salt on top. Creating a dessert bar with different toppings like crushed cookies, toasted nuts, or fruit compote allows guests to customize their own mousse experience.
 Save
Save
Recipe FAQs
- → Can I make this chocolate mousse ahead of time?
Yes! This mousse is perfect for making ahead. You can prepare it up to 2 days in advance and keep it refrigerated. Just save the final garnish of whipped cream until right before serving for the freshest presentation.
- → Why is it important to cool the chocolate mixture completely?
Cooling the chocolate mixture completely is crucial because a warm mixture will melt the whipped cream when folded together. This would prevent the mousse from setting properly and result in a runny texture rather than light and airy.
- → Can I use chocolate chips instead of baking chocolate?
While chocolate chips can work in a pinch, they contain stabilizers that affect melting consistency. For the smoothest texture, baking chocolate is recommended. If using chips, choose high-quality ones with a 60% cacao content for best results.
- → How do I know when my whipped cream has reached 'soft peak' stage?
Soft peaks are achieved when you lift your beater and the cream forms gentle peaks that slightly curl over at the tips. The cream should hold its shape but still look soft and pillowy, not stiff or dry.
- → Can I make this mousse dairy-free?
This particular recipe relies heavily on dairy for its texture. For a dairy-free version, you'd need to substitute the milk with a plant-based alternative and replace the heavy cream with full-fat coconut cream that's been chilled and whipped. The flavor profile will change slightly.
- → What can I use to garnish this chocolate mousse?
Beyond the reserved whipped cream, chocolate shavings, fresh berries, mint leaves, or a light dusting of cocoa powder make beautiful garnishes. For special occasions, edible gold leaf or chocolate curls create an elegant presentation.