
 Save
Save
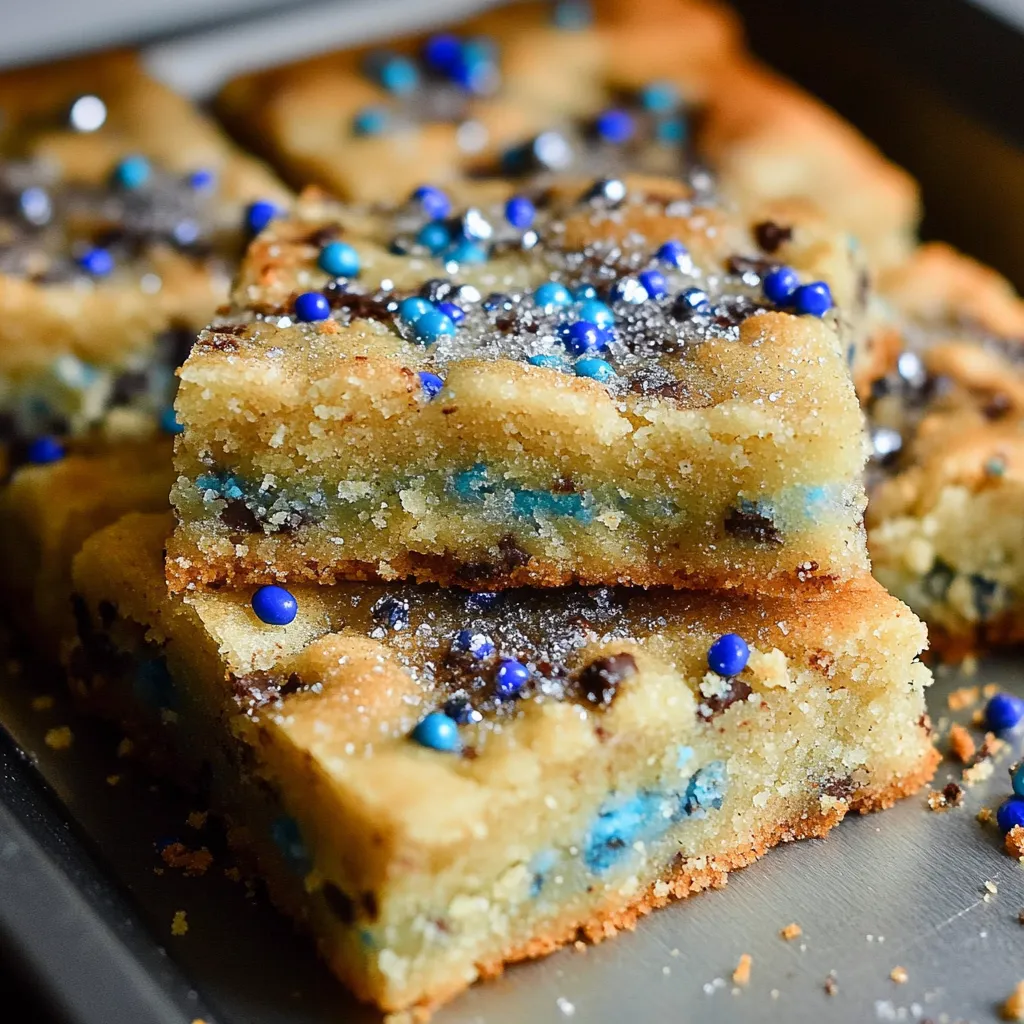
This sugar cookie bar recipe brings back my childhood love for classic sugar cookies, but in a simpler, quicker-to-make bar form. The slightly underbaked texture creates that perfect chewy center with crisp edges that everyone fights over!
I first made these for my daughter's birthday when I was short on time, and they've become our go-to dessert whenever we have surprise guests. The sprinkles make them festive enough for any celebration without the fuss of individual cookies.
Ingredients
- Butter softened to room temperature ensures proper creaming with sugar creating that essential light base
- Sugar provides not just sweetness but helps create the characteristic crackly top
- Eggs bind everything together while adding richness to the final texture
- Canola oil keeps these bars ultra moist even days after baking
- Vanilla extract adds that classic sugar cookie flavor foundation
- All purpose flour provides structure without making them too dense
- Kosher salt balances the sweetness and enhances all flavors use Diamond Crystal for best results
- Baking soda gives just enough lift without making them cakey
- Milk adds moisture and creates that signature tender crumb
- Sprinkles or sparkling sugar for that festive touch and slight crunch on top
Step-by-Step Instructions
- Prepare Your Station
- Preheat your oven to 350°F and thoroughly grease your 13×9 baking pan. I prefer using butter for greasing as it adds a subtle flavor to the edges.
- Cream Butter and Sugar
- In your stand mixer with the paddle attachment, beat the softened butter and sugar on high speed for a full 3 minutes. This step is crucial for incorporating air and creating that perfect cookie texture. The mixture should look noticeably lighter in color and fluffy.
- Add Wet Ingredients
- Add eggs, oil, and vanilla to your butter mixture. Mix just until combined, about 1 minute. Overmixing here can incorporate too much air and change the texture of your final bars.
- Incorporate Dry Ingredients
- Add flour, salt, and baking soda to the bowl, mixing on low speed just until combined, about 30 seconds. The dough will look thick and somewhat stiff at this stage.
- Add Milk
- Pour in the milk and mix for just 30 seconds until incorporated. The dough will become smoother and more spreadable but still quite thick.
- Spread Dough
- Transfer the dough to your prepared pan and spread it into an even layer. This takes some patience as the dough is sticky. I find using an offset spatula dipped occasionally in warm water helps create a smooth top.
- Add Topping
- Sprinkle your choice of decorations evenly across the top. For cinnamon sugar option, mix 2 tablespoons sugar with 2 teaspoons cinnamon and sprinkle over the dough.
- Bake to Perfection
- Bake for 20 to 25 minutes for a softer, chewier bar. The edges should be golden but the center will appear slightly underdone. For firmer bars, bake an additional 3 to 5 minutes. Allow to cool completely in the pan before cutting for cleanest slices.
 Save
Save
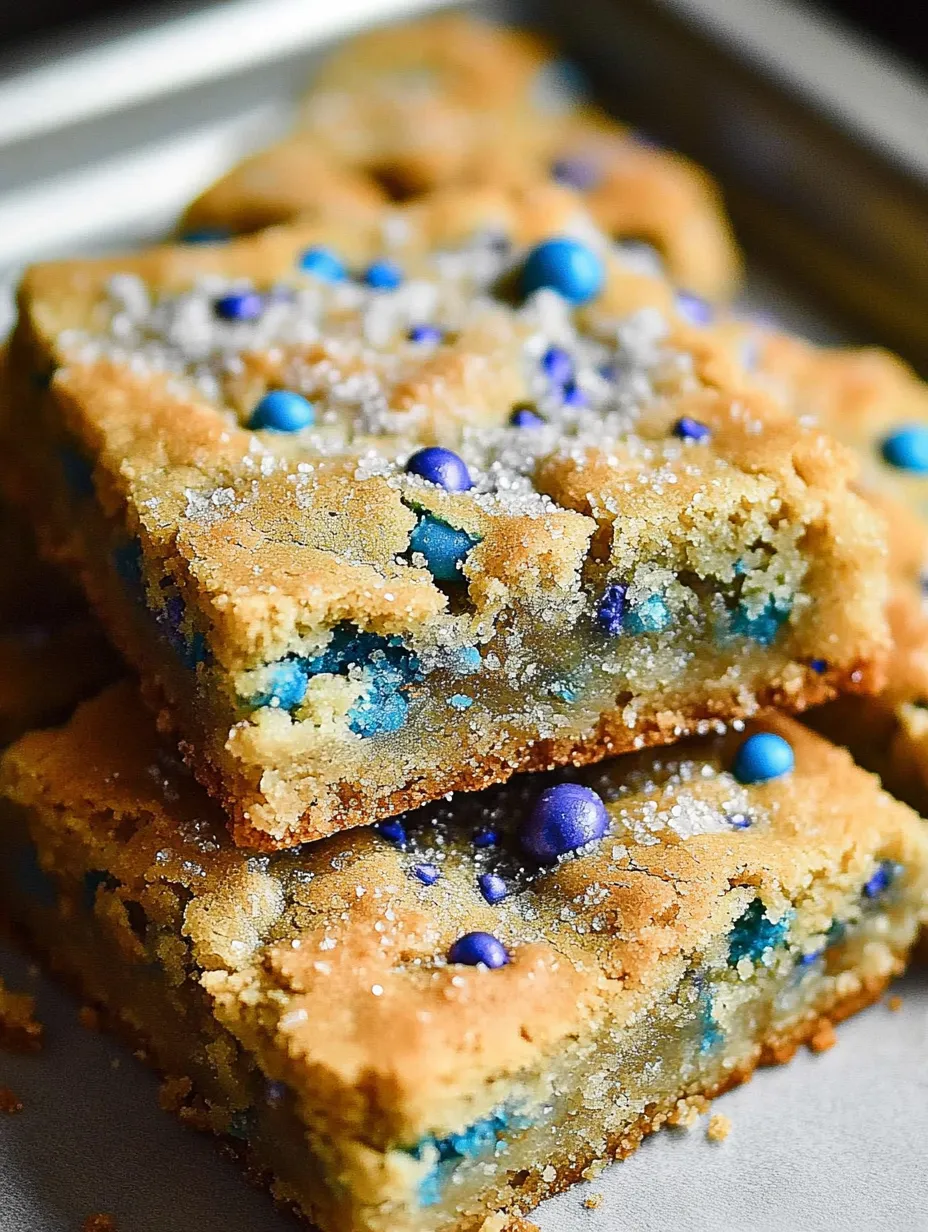
The secret to these bars is absolutely the combination of butter AND oil. I discovered this trick years ago when my cookie-obsessed nephew declared these better than any bakery version. The oil prevents them from drying out while the butter provides that irreplaceable rich flavor.
Storage Solutions
These sugar cookie bars actually improve with time! Store them in an airtight container at room temperature for up to 5 days. The flavor deepens and the texture becomes even more perfect on day two. For longer storage, wrap individual squares in plastic wrap and freeze for up to 3 months. Let thaw at room temperature for about an hour before serving.
Festive Variations
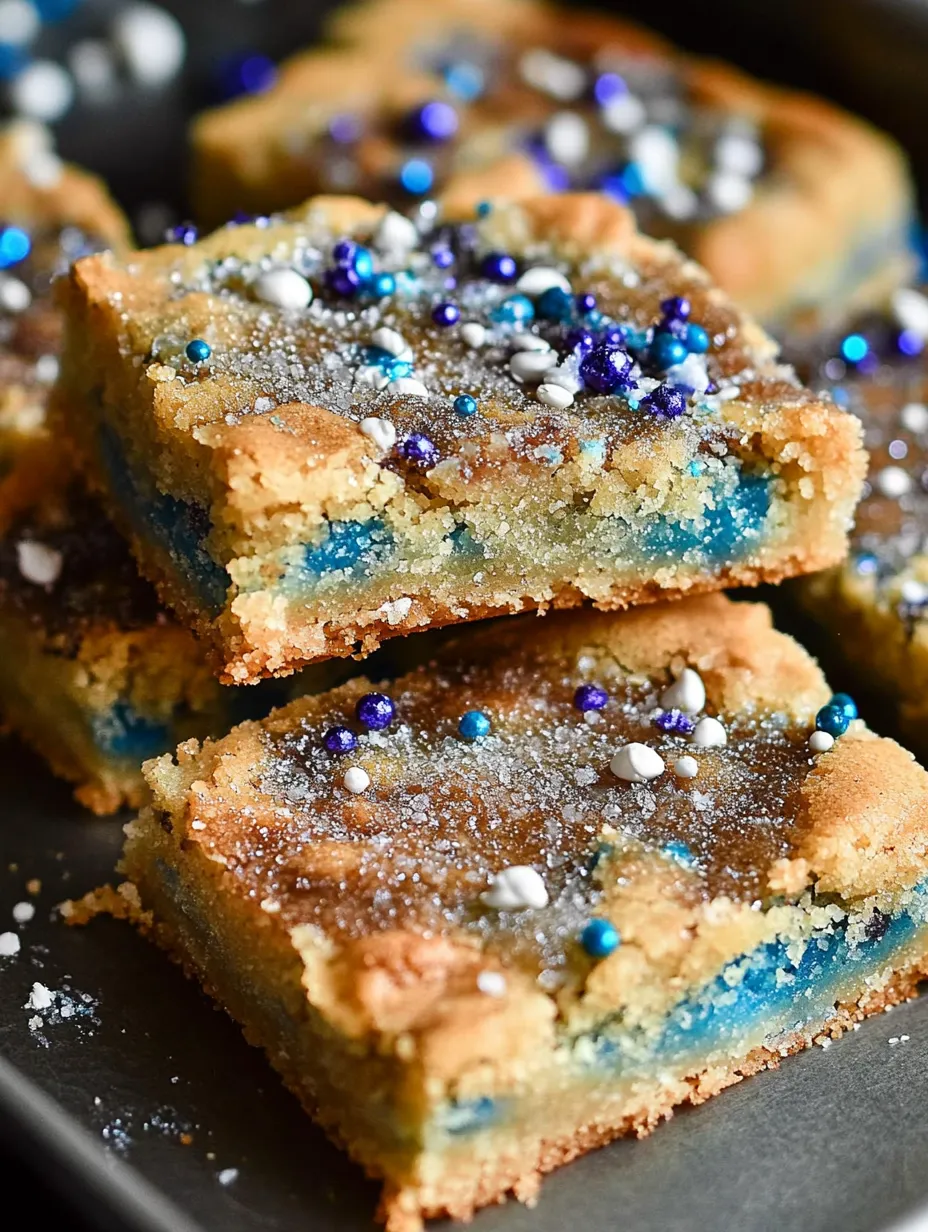
While the classic sprinkle topping is perfect for birthdays and everyday treats, you can easily customize these bars for holidays. Try red and green sprinkles for Christmas, orange and black for Halloween, or pastels for Easter. You can also add different extracts to the base dough almond extract works beautifully in place of or alongside the vanilla for a more complex flavor profile.
Serving Suggestions
These bars stand perfectly on their own, but for an extra special dessert, try warming a square for 10 seconds in the microwave and topping with a small scoop of vanilla ice cream. The contrast of warm, chewy cookie with cold ice cream is absolutely divine. For a simpler presentation, dust cooled bars with powdered sugar just before serving for an elegant touch.
 Save
Save
Recipe FAQs
- → Can I add frosting to these sugar cookie bars?
While many sugar cookie bars are frosted, these are intentionally designed to be sweet and delicious without frosting. The sprinkles or cinnamon sugar topping adds the perfect finishing touch and visual appeal. However, if you prefer frosting, a simple vanilla buttercream would complement these bars nicely.
- → How do I know when the bars are done baking?
For slightly underbaked, chewy centers (as recommended), bake for 20-25 minutes until the edges are set and lightly golden but the center still appears soft. For firmer bars, add an additional 3-5 minutes. Remember that they will continue to set as they cool in the pan.
- → Can I substitute the canola oil with something else?
Yes, any neutral-flavored oil will work well. Vegetable oil, grapeseed oil, or even melted coconut oil (though this may add a slight coconut flavor) can be substituted in equal amounts for the canola oil.
- → How should I store these cookie bars?
Store the cooled and cut bars in an airtight container at room temperature for up to 5 days. For longer storage, wrap them individually and freeze for up to 3 months. Thaw at room temperature before serving.
- → Can I add mix-ins to these sugar cookie bars?
Absolutely! Consider folding in 1/2 cup of white chocolate chips, crushed Oreos, or dried cranberries to the batter before spreading in the pan. Just be careful not to overmix once add-ins are incorporated.
- → What makes these different from regular sugar cookies?
These bars have the same delicious flavor as classic sugar cookies but with less work - no scooping, rolling, or batch baking required. They're intentionally chewier with a tender center and crisp edges, and the pan-baking method creates a consistent texture throughout.