
 Save
Save
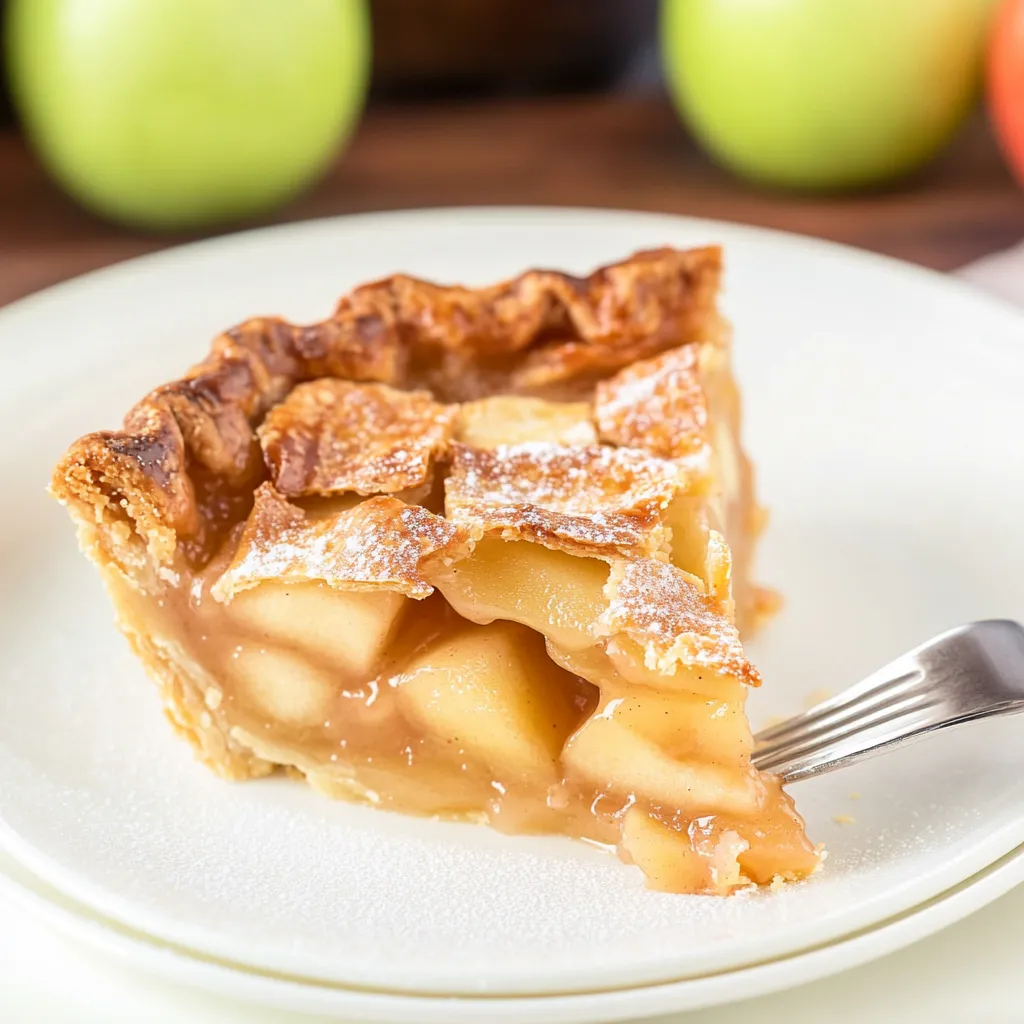
This apple pie recipe has been my family's go-to dessert for years, combining the convenience of store-bought pie crust with a homemade filling that tastes like it came straight from grandma's kitchen. The woven trellis top adds that special touch that makes everyone think you spent hours in the kitchen, when really, it's surprisingly simple.
I first made this pie when my in laws were coming for dinner and I needed something impressive but didn't have all day to bake. Three years later, it's now requested at every family gathering, and I've perfected the little details that make it foolproof.
Ingredients
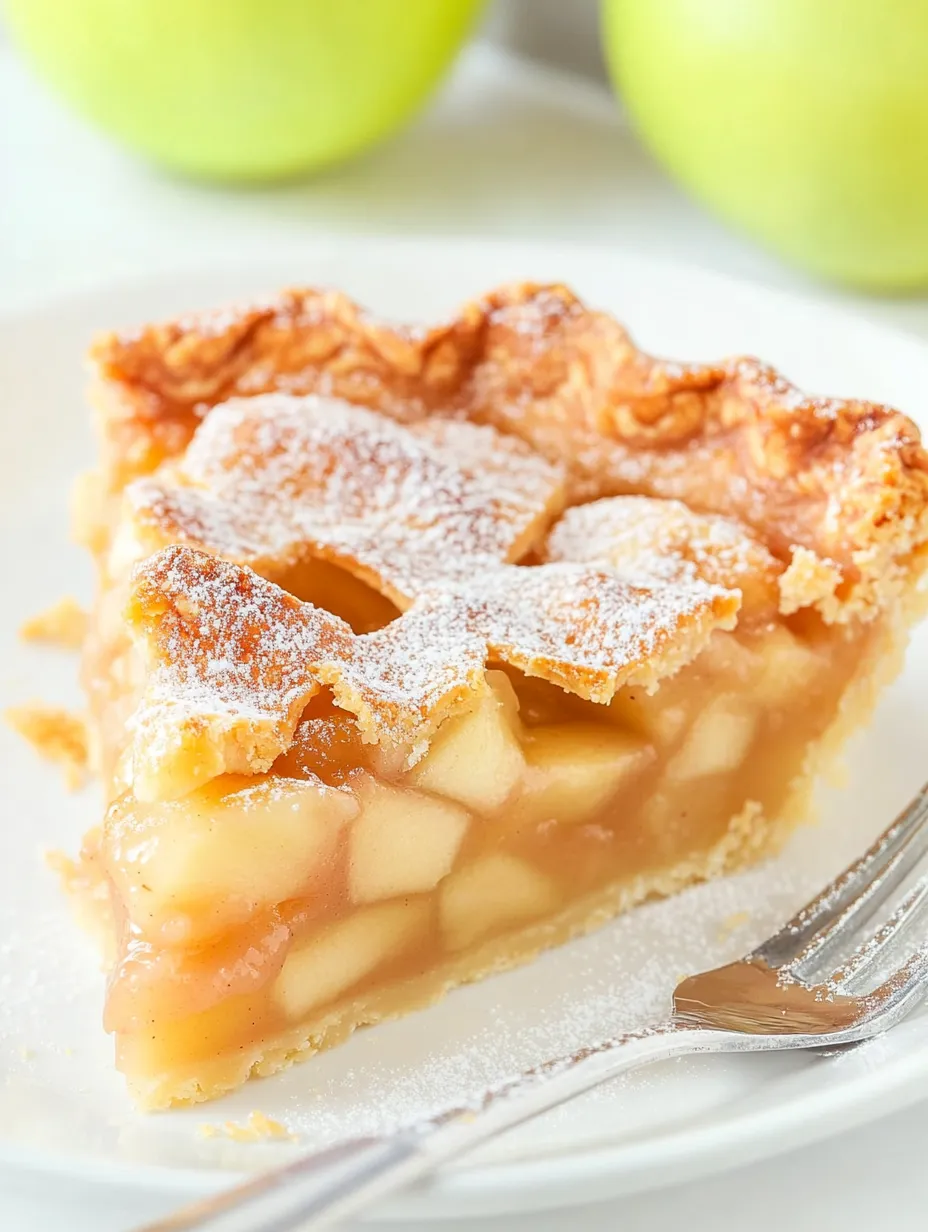
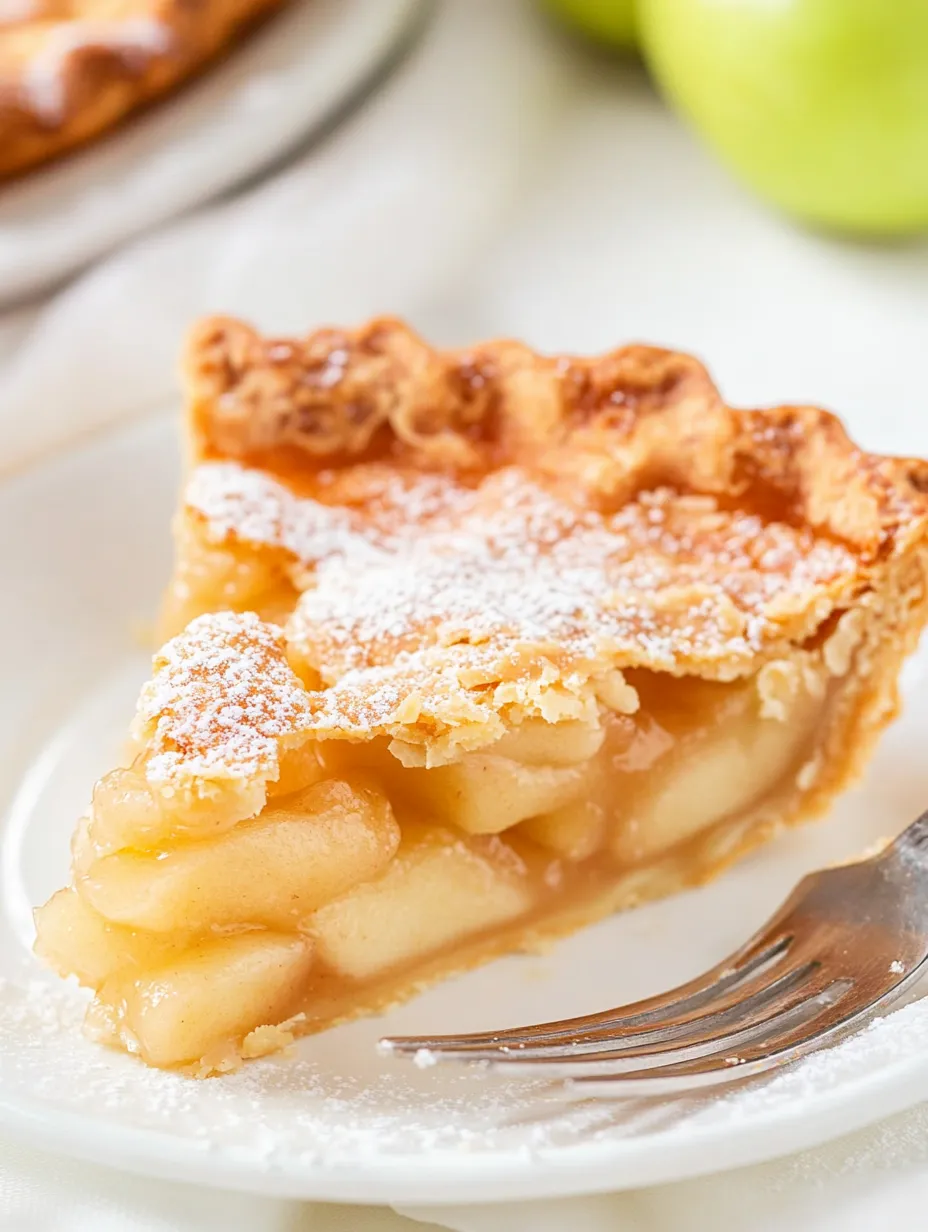
- Granny Smith apples provide the perfect tartness that balances the sweetness of the filling and holds their shape during baking
- Combination of white and brown sugar creates depth of flavor that one sugar alone cannot achieve
- Ground cinnamon and nutmeg offer that classic warmth that makes apple pie instantly recognizable
- All purpose flour and cornstarch work together to thicken the filling so you get perfect slices without runniness
- Lemon juice brightens the flavor and prevents the apples from browning
- Store bought pie crusts save considerable time while still providing a flaky base and beautiful top
Step-by-Step Instructions
- Prepare the Filling
- Combine all filling ingredients in a large bowl and toss until every apple slice is thoroughly coated. This step allows the sugars to begin drawing moisture from the apples, creating that perfect saucy texture. Make sure to coat every single slice for consistent flavor throughout the pie.
- Create the Bottom Crust
- Roll out your first pie crust to about 12 inches in diameter to ensure it comfortably fits your 9 inch pie dish with some overhang. Gently press it into the dish, being careful not to stretch the dough which can cause shrinking during baking. Leave the excess hanging over the edges for now.
- Fill the Pie
- Pour your apple mixture into the prepared crust, including any juices that have accumulated in the bowl. Arrange the apples so they lay relatively flat, which helps create even layers and prevents large air pockets that can cause the top crust to dome up during baking.
- Create the Trellis Top
- Cut the second crust into half inch strips and create a woven pattern across the top. Start by laying strips in one direction, then fold back alternating strips to weave perpendicular pieces through. Work from the center outward for the most even pattern. This method creates a stunning presentation that allows steam to escape while baking.
- Finish and Bake
- Trim excess dough and crimp edges to seal the pie. Brush the entire top with egg wash for a golden shine. Bake at 400°F for 20 minutes, then reduce to 350°F and cover the edges with foil to prevent over browning. Continue baking for 50 to 60 minutes until golden and bubbly.
 Save
Save
My favorite part of this recipe is the moment the pie comes out of the oven, golden and bubbling with those warm spiced apple aromas filling the kitchen. It instantly transforms our home into a welcoming space that feels like the holidays, even on an ordinary Tuesday night.
Choosing the Right Apples
While Granny Smith apples are my go to for their tartness and firm texture that holds up well during baking, you can create interesting flavor profiles by using a mix of apple varieties. Try combining Granny Smith with sweeter apples like Honeycrisp or Gala for a more complex flavor profile. Avoid softer varieties like Red Delicious which turn mushy during baking. The perfect apple pie has distinct pieces of fruit with some texture remaining, not applesauce consistency.
Make Ahead Options
This apple pie actually tastes even better the day after baking as the flavors have time to meld and develop. You can prepare the entire pie up to 24 hours in advance and store it covered at room temperature. For longer storage, baked apple pie freezes beautifully for up to 3 months. Simply thaw overnight in the refrigerator and warm in a 350°F oven for about 15 minutes before serving to restore that fresh baked taste and crisp crust.
Serving Suggestions
While delicious on its own, this apple pie reaches new heights when served warm with a scoop of vanilla ice cream melting over the top. For a special touch, drizzle with caramel sauce or sprinkle with cinnamon sugar just before serving. During fall gatherings, I serve this pie alongside a cheese board with sharp cheddar cheese, which pairs surprisingly well with the sweet tart apples, creating a gourmet dessert experience that impresses every time.
 Save
Save
Recipe FAQs
- → What are the best apples to use for this pie?
Granny Smith apples are ideal because they hold their shape during baking and offer a tart contrast to the sweet filling. However, you can also use Honeycrisp, Braeburn, or Pink Lady varieties. For the best flavor complexity, consider using a mix of apple varieties.
- → Can I make this pie ahead of time?
Yes! You can prepare the entire pie up to 24 hours in advance and refrigerate it unbaked. When ready to serve, bake as directed, adding a few extra minutes to the baking time. Alternatively, bake the pie completely, cool it, and store at room temperature for up to 2 days.
- → How do I prevent a soggy bottom crust?
To ensure a crisp bottom crust, you can blind bake the bottom crust for about 10 minutes before adding the filling. Another effective technique is to place the pie on the lowest oven rack during the first 15-20 minutes of baking, which helps cook the bottom crust quickly.
- → Why does my filling need both flour and cornstarch?
The combination of flour and cornstarch creates the perfect thickening balance. Flour provides body to the filling while cornstarch ensures a clear, glossy sauce. Together, they prevent the filling from becoming too runny when the pie is cut, while maintaining a smooth, not gummy, texture.
- → How do I create the trellis pattern for the top crust?
Cut the dough into ½-inch strips and lay half of them parallel across the filling. Fold back every other strip halfway, place a perpendicular strip across, then unfold the strips. Repeat this weaving process, alternating which strips you fold back, until you've created a woven lattice pattern across the entire pie.
- → Can I freeze this pie?
Yes, this pie freezes beautifully. You can freeze it unbaked or baked. For unbaked, freeze until solid then wrap tightly in plastic wrap and foil. Bake directly from frozen, adding 15-20 extra minutes. For baked pies, cool completely, wrap well, and freeze for up to 3 months. Thaw overnight in the refrigerator and reheat at 350°F until warmed through.