
 Save
Save
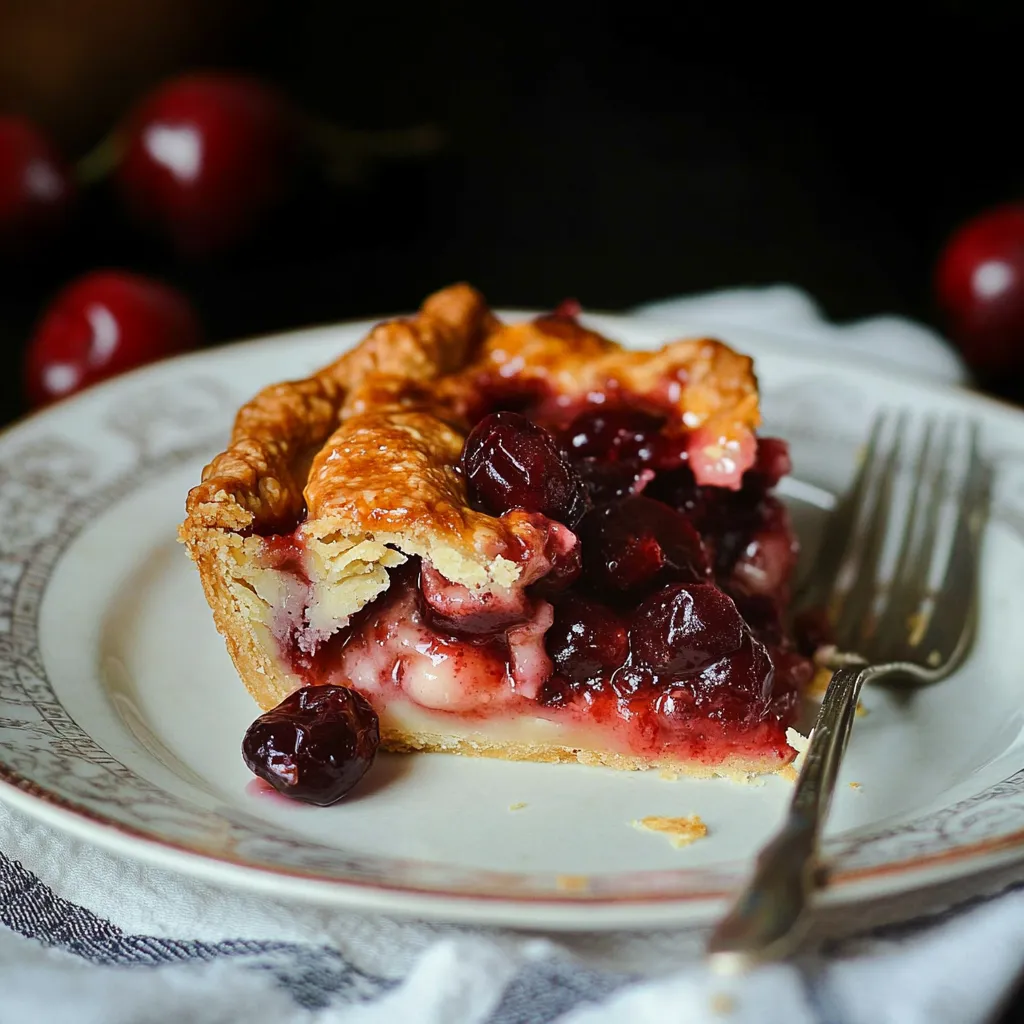
This homemade cherry pie recipe transforms frozen sour cherries into a perfectly balanced dessert that's neither too sweet nor too tart. The combination of juicy cherries, warm cinnamon, and your choice of flaky top crust or crumbly streusel makes this an irresistible classic that will have everyone asking for seconds.
I discovered this recipe during cherry season when I had an abundance of sour cherries from the farmers market. After freezing several batches, I perfected this method for using frozen cherries that consistently delivers the same bright flavor as fresh fruit.
Ingredients
- Frozen sour cherries with their juice adds the perfect tart flavor foundation while being convenient and available year round
- Granulated sugar balances the natural tartness without overwhelming the cherry flavor
- Flour and cornstarch work together to create the perfect thickness for the filling when cherries release their juices
- Cinnamon provides a warm subtle spice that enhances the cherry flavor look for Ceylon cinnamon for a more delicate taste
- Cold butter pieces dotted throughout create pockets of richness in the filling
- Brown sugar in the streusel adds depth and caramel notes that complement the cherries beautifully
- Vanilla extract brings out the natural sweetness of the cherries and adds aromatic complexity
Step-by-Step Instructions
- Thaw the cherries
- Allow frozen cherries to thaw completely in the refrigerator overnight or follow package directions. This ensures even cooking and proper juice extraction.
- Prepare the filling
- Combine the dry ingredients first to prevent clumping before adding the cherries and juice. This creates a silky smooth filling with no flour pockets. Mix gently to avoid crushing the cherries while ensuring each one is coated with the sugar mixture.
- Assemble the pie
- Line your pie plate with the bottom crust ensuring it slightly overhangs the edges. Pour in the cherry filling making sure to distribute evenly and dot with small pieces of cold butter which will melt during baking creating richness throughout.
- Top your pie
- Either apply the top crust and seal edges by crimping decoratively or sprinkle the streusel topping generously over the entire surface. The streusel should completely cover the filling to create a cohesive textural contrast.
- Chill thoroughly
- Refrigerating for a full 30 minutes allows the fats in the crust to firm up which is crucial for achieving that perfect flaky texture when baked. Do not skip this step.
- Bake with care
- Position the rack properly and use the baking sheet to catch any potential overflow. The initial high heat sets the crust structure before tenting with foil prevents over browning while ensuring the filling cooks completely.
 Save
Save
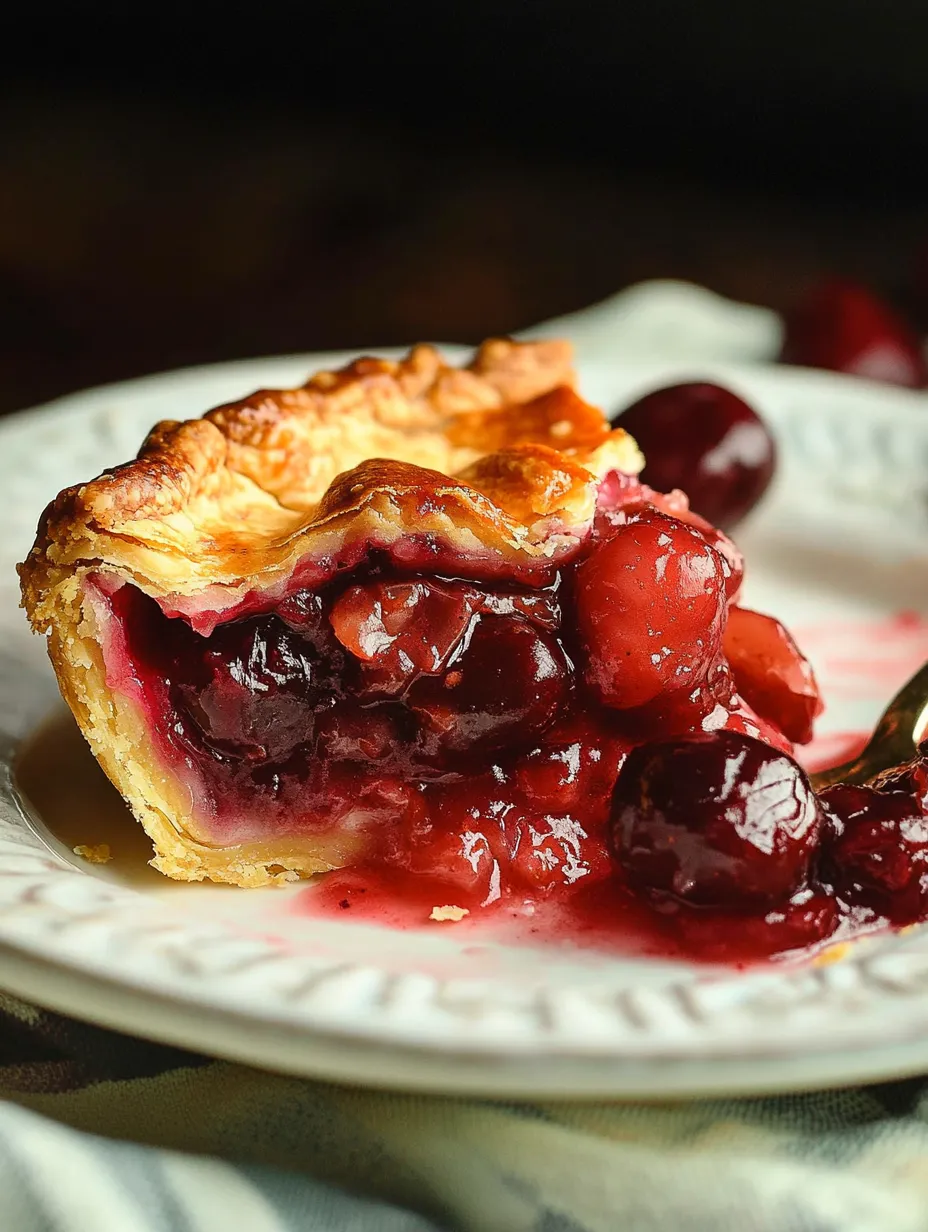
Sour cherries are truly the secret hero of this recipe. My grandmother always said sweet cherries are for eating but sour cherries are for baking. The first time I made this pie for my in laws they were skeptical about frozen cherries but after one bite they were complete converts.
Working With Frozen Cherries
Frozen sour cherries are actually ideal for pies since they're typically frozen at peak ripeness. When thawing be sure to collect all the juice as it contains concentrated flavor. If your cherries release more than the half cup called for in the recipe you can reduce the excess by simmering it separately until slightly thickened then adding it back to the filling.
Make Ahead Options
This cherry pie works beautifully as a make ahead dessert. You can prepare the entire pie up to the baking step then wrap it tightly and freeze for up to three months. When ready to bake simply add about 20 minutes to the baking time no need to thaw first. Alternatively you can bake the pie completely cool it then freeze. Thaw overnight in the refrigerator and warm in a 300°F oven for 15 minutes to restore that freshly baked quality.
Serving Suggestions
While this pie is spectacular on its own try serving it slightly warm with a scoop of vanilla bean ice cream or a dollop of lightly sweetened whipped cream. For a more elegant presentation drizzle plates with a reduction of cherry juice and sugar before placing the slice of pie. The contrast of warm pie with cold ice cream creates a sensory experience that elevates this homemade dessert to restaurant quality status.
 Save
Save
Recipe FAQs
- → Do I need to thaw frozen cherries before making the pie?
Yes, you should thaw frozen cherries completely before making the pie. You can either follow the directions in the post or leave them in the refrigerator overnight. After thawing, drain them but reserve ½ cup of the cherry juice to mix with the filling.
- → Can I use sweet cherries instead of sour cherries?
While this pie is designed for sour cherries, you can substitute sweet cherries. However, you may want to reduce the sugar amount by about ¼ cup and add 1-2 tablespoons of lemon juice to maintain the sweet-tart balance that makes this pie special.
- → Why do I need to chill the pie before baking?
Chilling the assembled pie for 30 minutes before baking helps prevent the crust from shrinking and maintains its shape during baking. Cold butter in the crust creates steam pockets that result in a flakier texture.
- → What's the purpose of the egg wash?
The egg wash (mixture of egg, egg yolk, and heavy cream) gives the top crust a beautiful golden-brown shine when baked. It also helps seal the edges of the crust and can help any sugar sprinkled on top to adhere better.
- → Why does the pie need to cool for three hours?
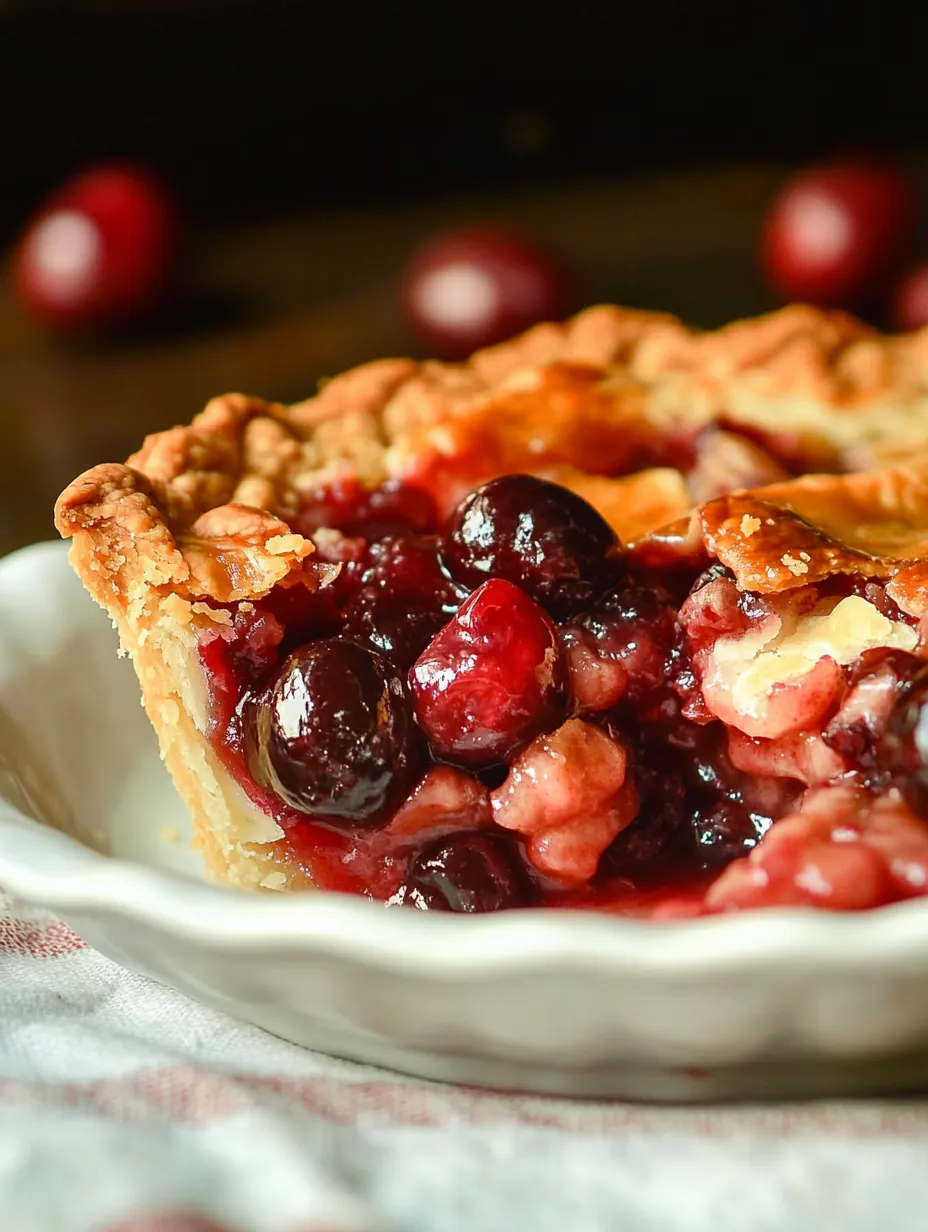
The three-hour cooling period allows the filling to set properly. If cut too soon, the filling will be runny and the crust may collapse. This resting time ensures clean slices and the perfect texture.
- → How do I know when my cherry pie is done baking?
Your pie is done when the crust is golden and the filling is bubbling evenly in the center, not just around the edges. This typically takes about 1 hour plus an additional 15 minutes with foil tented over the crust to prevent over-browning.