
 Save
Save
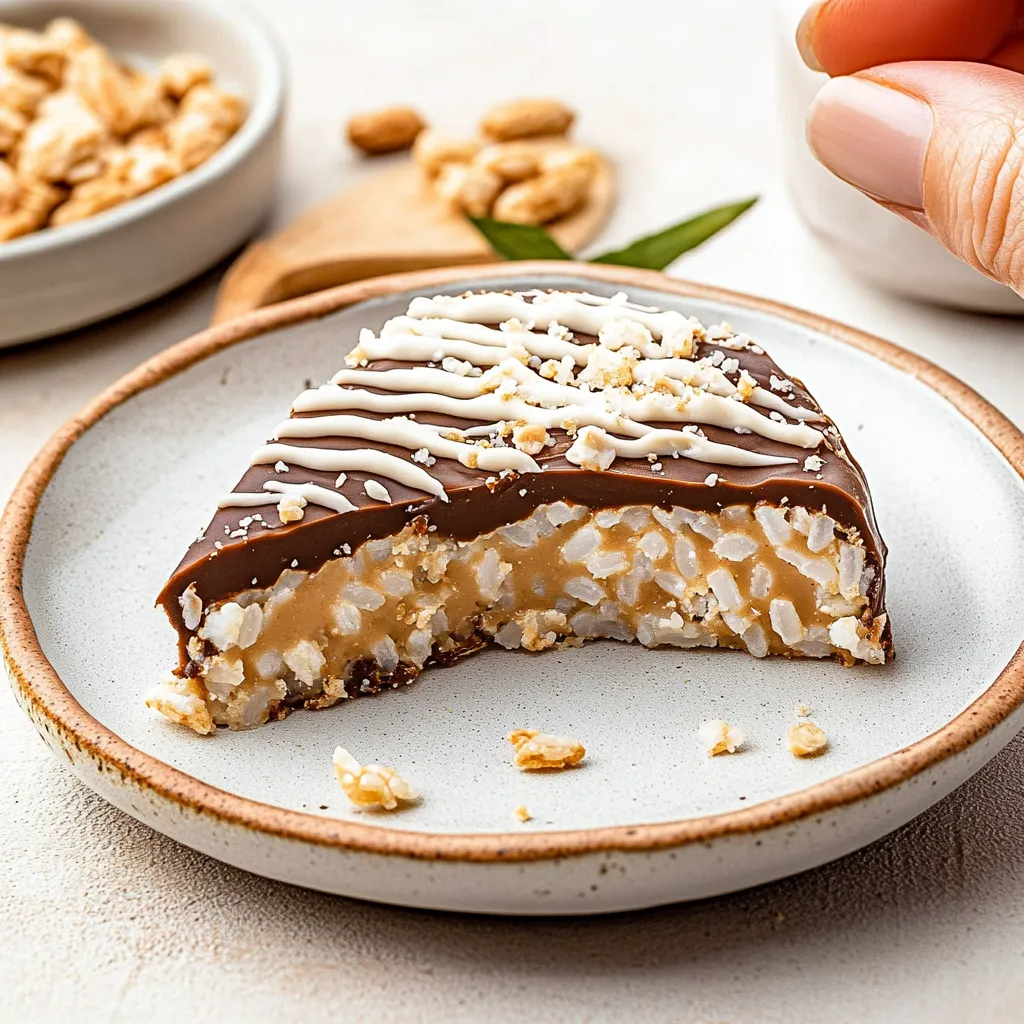
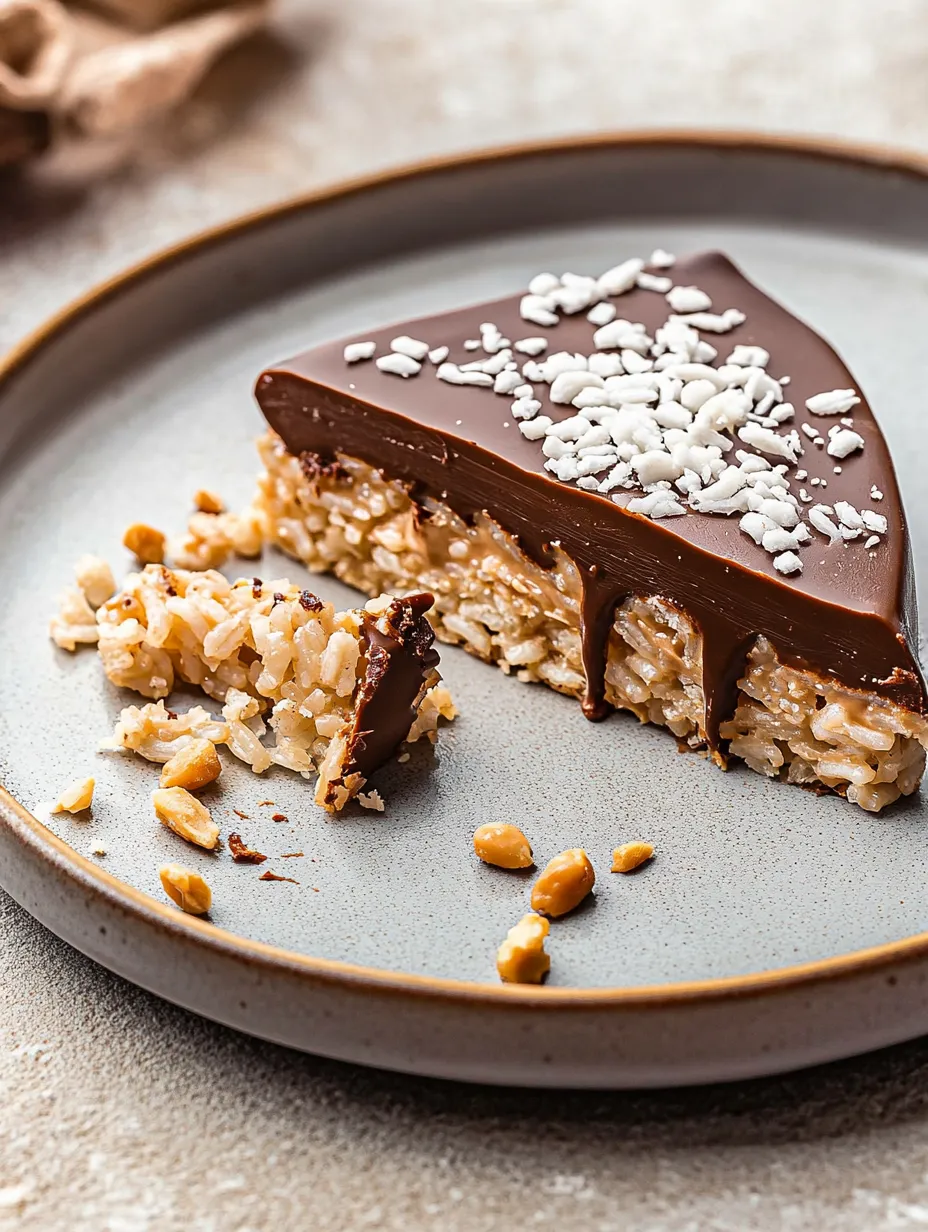
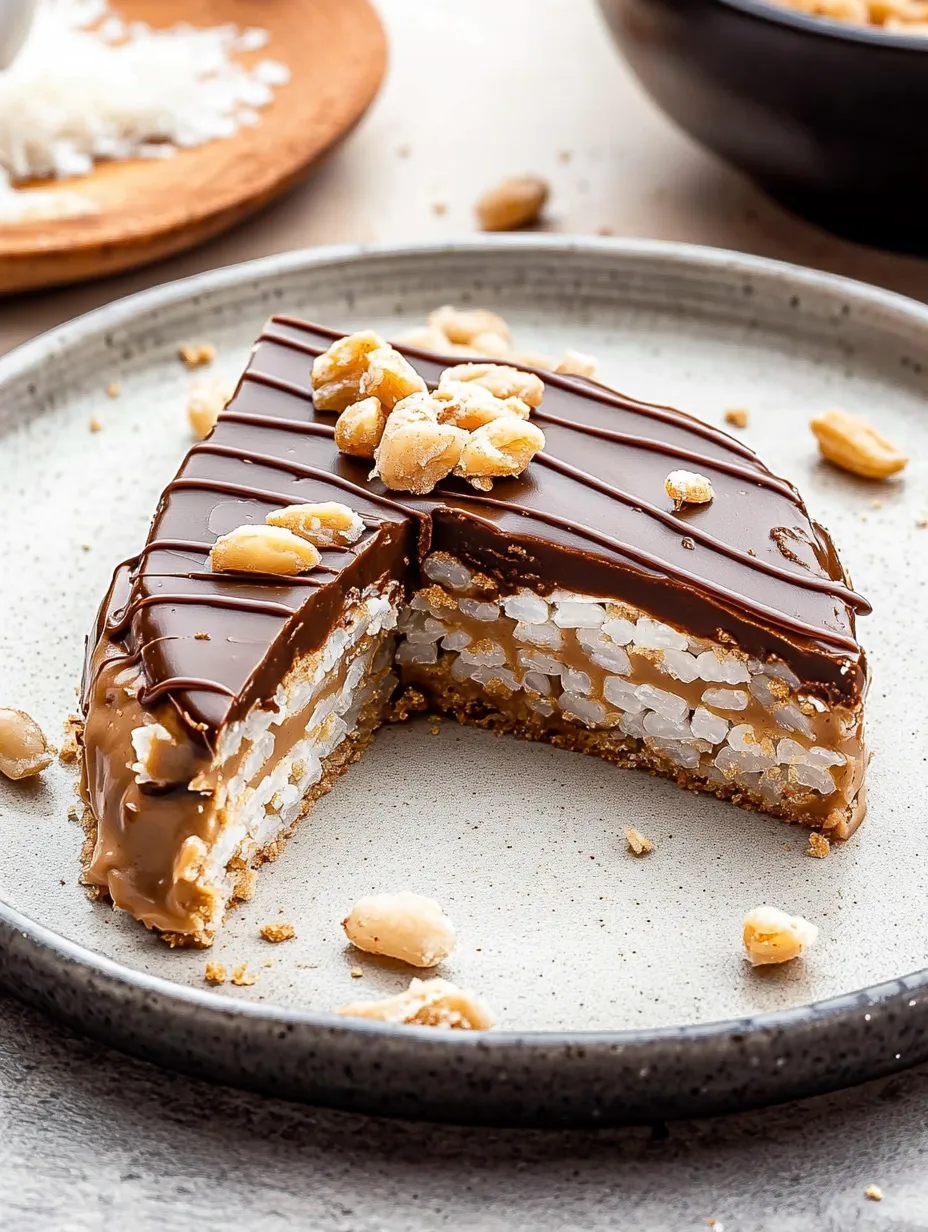
This peanut butter rice cake transforms a simple rice cake into a decadent treat that satisfies chocolate and peanut butter cravings without dairy. My plant-based twist on a classic flavor combination brings all the indulgence of a peanut butter cup in snack form with minimal effort and maximum enjoyment.
I created this recipe during a late night chocolate craving when I had limited ingredients in my pantry. What began as a simple experiment has become my go to treat when I want something sweet without the guilt of a full dessert.
Ingredients
- Rice cake: provides the perfect crispy base while keeping the calories lower than traditional cookies or brownies
- Peanut butter: delivers rich protein and creamy texture look for natural varieties with minimal added sugars
- Dairy free dark chocolate chips: bring deep chocolate flavor without any animal products choose high quality for the best melting properties
- Dairy free white chocolate chips: create beautiful contrast and added sweetness select a brand that melts smoothly
- Coconut oil: helps achieve that perfect glossy chocolate finish and improves the texture when it sets
- Sea salt flakes: enhance all the flavors especially the sweetness of the chocolate a flaky variety works best for texture and visual appeal
Step-by-Step Instructions
- Melt The Dark Chocolate:
- Place your dark chocolate chips and 1/4 teaspoon coconut oil in a microwave safe bowl. Heat in 15 second increments at medium power stopping to stir thoroughly each time. Continue until completely melted and smooth about 30 to 45 seconds total. The careful melting prevents scorching and ensures silky texture.
- Melt The White Chocolate:
- Repeat the same careful melting process with the white chocolate chips and remaining coconut oil. White chocolate is more sensitive to heat so watch it carefully and remove it as soon as it becomes smooth and pourable.
- Create The Base Layer:
- Spread your peanut butter evenly across the rice cake creating a substantial layer. Make sure to reach all the edges for complete coverage. This layer provides the creamy richness that makes this treat so satisfying.
- Add The Chocolate Layer:
- Pour the melted dark chocolate over the peanut butter layer using a spoon to guide it evenly across the surface. Gently tilt the rice cake to help the chocolate spread to the edges creating a smooth professional looking finish.
- Initial Setting:
- Place your chocolate covered rice cake in the freezer for 5 minutes allowing the dark chocolate layer to set just enough to support the white chocolate drizzle. The quick chill creates better layer definition.
- Add Decorative Touches:
- Once the dark chocolate has slightly set drizzle the melted white chocolate across the top in a zigzag pattern. Work quickly while the white chocolate is still fluid for the best lines and decoration.
- Final Touches And Setting:
- Sprinkle sea salt flakes across the top while the white chocolate is still soft so they adhere properly. The salt provides crucial flavor balance. Return to freezer for 10 more minutes to fully set all layers before enjoying.
 Save
Save
The peanut butter is truly the star ingredient here. I discovered that using room temperature peanut butter creates the smoothest application. My niece once declared this her favorite treat and now requests it whenever she visits telling everyone its better than store bought peanut butter cups.
Creative Variations
Different nut or seed butters can completely transform this treat. Almond butter creates a more sophisticated flavor profile while sunflower seed butter makes the recipe suitable for those with nut allergies. The texture differs slightly with each variation but the delicious satisfaction remains the same.
Storage Guide
These peanut butter rice cakes maintain their best texture when stored in the refrigerator in an airtight container. They will keep fresh for up to 3 days though the rice cake may soften slightly over time. For the crispiest experience consume within 24 hours of preparation. I actually enjoy them slightly softened as the flavors meld beautifully together.
Serving Suggestions
Pair these decadent rice cakes with a glass of cold plant milk for the ultimate nostalgic snack experience. For a more substantial offering slice fresh strawberries or bananas on the side to create a balanced treat plate. These also work wonderfully as part of a casual dessert board alongside fresh berries and small clusters of granola.
 Save
Save
Recipe FAQs
- → Can I use regular chocolate instead of dairy-free?
Yes, if you're not following a vegan diet, you can substitute regular dark and white chocolate chips. The melting process remains the same - just combine with coconut oil and microwave in 15-second intervals, stirring between each.
- → How do I prevent the chocolate from seizing when melting?
To prevent chocolate from seizing, make sure your bowl is completely dry, use medium power on your microwave, and stir between each 15-second interval. The addition of coconut oil helps create a smoother consistency and prevents overheating.
- → What kind of rice cakes work best for this treat?
Plain, unflavored rice cakes provide the best neutral base for this treat. However, lightly salted or even caramel rice cakes can add interesting flavor dimensions that complement the peanut butter and chocolate toppings.
- → Can I make these ahead of time for a party?
Yes! These treats can be made up to 3 days in advance and stored in an airtight container in the refrigerator. For best texture, bring them to room temperature for about 5 minutes before serving, or serve them cold for a firmer chocolate layer.
- → What are some alternatives to peanut butter?
If you have peanut allergies or prefer alternatives, almond butter, cashew butter, or sunflower seed butter work wonderfully as substitutes. Each brings its own unique flavor while maintaining the creamy texture needed for this treat.
- → Why add sea salt flakes to the top?
The sea salt flakes create a flavor contrast that enhances both the sweetness of the chocolate and the richness of the peanut butter. This salt-sweet-fat combination activates multiple taste receptors, creating a more complex and satisfying flavor experience.