
 Save
Save
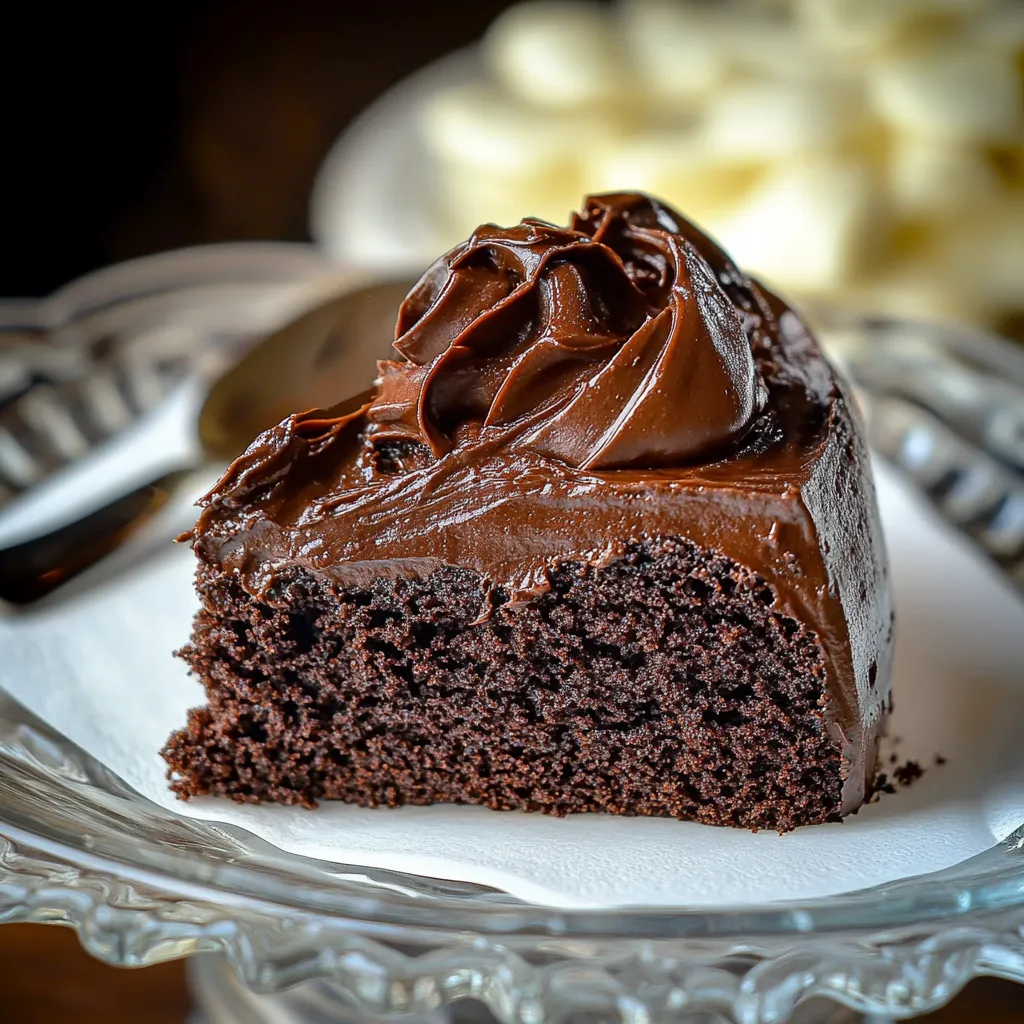
This dark chocolate cake has been my secret weapon for dinner parties, birthdays, and those moments when only something decadently chocolatey will satisfy. The combination of Dutch cocoa and high-quality dark chocolate creates an intensely rich flavor that stays moist for days.
I first made this cake for my best friend's surprise birthday party. Everyone fell silent when they took their first bite and now it's requested at every gathering. Even my chocolate-skeptic aunt asks for the recipe.
Ingredients
- Unsalted butter the foundation of moisture and richness that makes this cake melt in your mouth
- Dark chocolate 70% cocoa solids provides deep chocolate flavor without excessive sweetness
- Instant coffee granules enhances and intensifies the chocolate flavor without adding coffee taste
- Granulated sugar balances the bitterness of dark chocolate and helps create that signature crackly top
- Eggs provide structure and richness while helping create that perfect dense texture
- Vanilla extract adds warmth and complexity to the chocolate flavor
- All purpose flour gives structure while still allowing for a moist dense crumb
- Baking powder provides just enough lift without making the cake too cakey
- Dutch processed cocoa powder darker and richer than natural cocoa with less acidity
- Heavy cream creates silky ganache and whipped mascarpone topping with perfect texture
- Mascarpone cheese adds luxurious creaminess and slight tanginess to the optional topping
Step-by-Step Instructions
- Prepare The Pan
- Butter a 9-inch springform pan thoroughly ensuring no spots are missed then line with parchment paper. This double insurance guarantees your cake will release perfectly even with its fudgy texture.
- Melt The Chocolate Mixture
- Combine butter dark chocolate and hot coffee with dissolved instant coffee granules in a large bowl stirring gently until completely smooth. The hot coffee helps melt everything evenly while developing deeper chocolate notes.
- Add Sweetness And Flavor
- Whisk in sugar by hand until fully dissolved then add eggs and vanilla. The mixture should look glossy and smooth. Whisking by hand prevents incorporating too much air which keeps the cake perfectly dense.
- Incorporate Dry Ingredients
- Sift flour cocoa powder and salt together then gently whisk into the chocolate mixture until just combined. The batter will be quite liquid which creates that signature moist texture.
- Bake To Perfection
- Pour batter into prepared pan and bake for exactly 60 minutes. The top will form a beautiful crackly crust while the inside stays fudgy. A skewer should come out with just a few moist crumbs.
- Rest And Cool
- Allow the cake to cool in the pan for 20 minutes before releasing the springform. This resting period is crucial as the structure continues to set during cooling.
 Save
Save
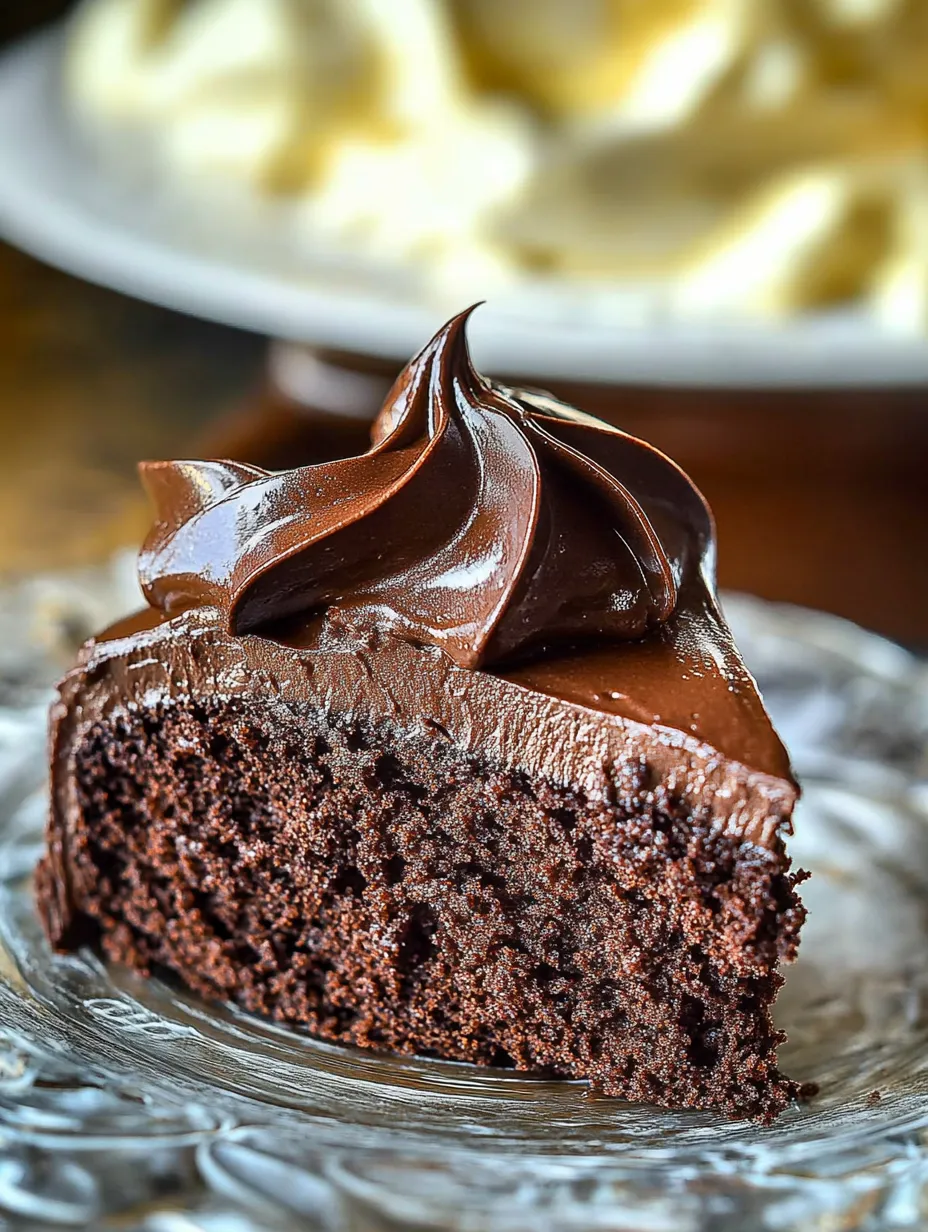
My favorite moment with this cake was watching my chocolate-hating brother-in-law take a hesitant taste then immediately cut himself a full slice. The quality of the dark chocolate truly makes a difference here I always splurge on the good stuff.
The Perfect Chocolate Ganache
The optional ganache transforms this already excellent cake into something extraordinary. The key is allowing it to cool to the perfect spreading consistency not too runny but still glossy. I find that chilling it for about 20 minutes then whisking vigorously gives that ideal texture. Spread it while the cake is completely cool for the most professional finish. The corn syrup might seem unusual but it gives the ganache that enviable shine that makes everyone think you bought it from a bakery.
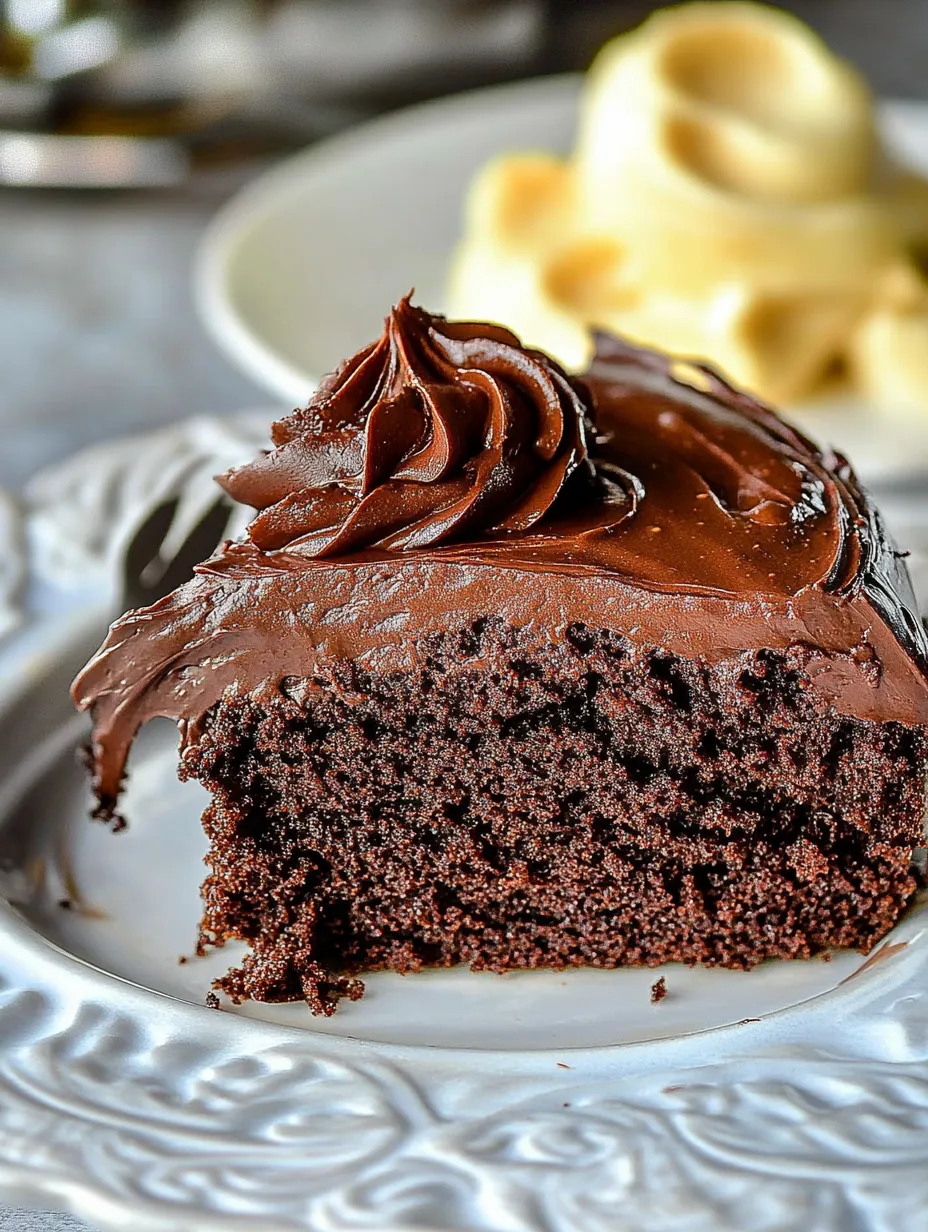
Serving Suggestions
While this cake is magnificent on its own I love serving it with the espresso cinnamon mascarpone cream for special occasions. The slight bitterness of the espresso and the warmth of cinnamon create a beautiful counterpoint to the rich chocolate. For a simpler presentation try a light dusting of powdered sugar or cocoa powder. During summer months fresh berries add a lovely acidic contrast that cuts through the richness. A small scoop of vanilla ice cream is never unwelcome either.
Make-Ahead Tips
This cake actually improves with time as the flavors meld and develop. Make it a day before serving for the best taste experience. The ganache can be made up to two weeks ahead and stored in the refrigerator just warm it slightly and whisk before using. The mascarpone cream should be made no more than 4 hours before serving and kept refrigerated. If you need to make the cake further in advance it freezes beautifully without the toppings. Wrap tightly in plastic wrap and then foil for up to two months.
 Save
Save
Recipe FAQs
- → Can I make this cake without the coffee?
Yes, you can substitute hot water for the coffee-water mixture, but the coffee enhances the chocolate flavor without adding coffee taste. For a coffee-free version, use plain hot water but consider adding an extra teaspoon of vanilla extract to maintain depth of flavor.
- → How can I tell when the cake is properly baked?
The cake is done when a skewer inserted into the center comes out clean or with just a few dry crumbs attached. The top will form a crust and crack slightly - this is expected and part of its character.
- → Can I make this cake in advance?
Absolutely! This cake keeps exceptionally well for up to 8 days when stored in an airtight container or wrapped well in plastic. The ganache can be made up to 2 weeks ahead and refrigerated.
- → What can I substitute for mascarpone in the cream topping?
If mascarpone is unavailable, you can substitute with cream cheese mixed with a little heavy cream to reach a similar consistency. Greek yogurt mixed with whipped cream can also work as an alternative with a tangier profile.
- → Can I freeze this chocolate cake?
Yes, the cake freezes beautifully. Wrap it tightly in plastic wrap, then in foil, and freeze for up to 3 months. Thaw overnight in the refrigerator. It's best to add the ganache and mascarpone cream after thawing rather than before freezing.
- → What type of dark chocolate works best?
The recipe specifies 70% cocoa solids which provides the optimal balance of bitterness and sweetness. You can use chocolate with higher cocoa percentage for a more intense flavor, or lower (but not below 60%) for a slightly sweeter profile.