 Save
Save
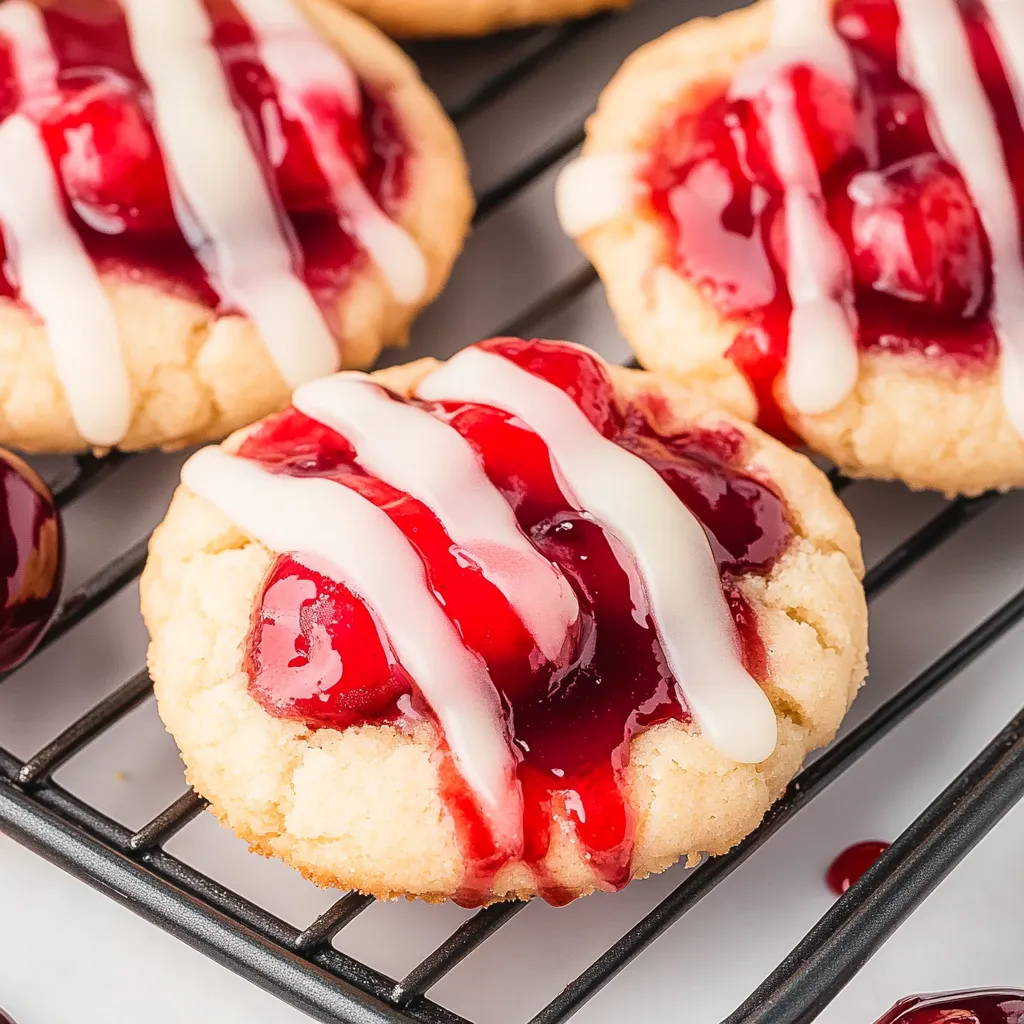
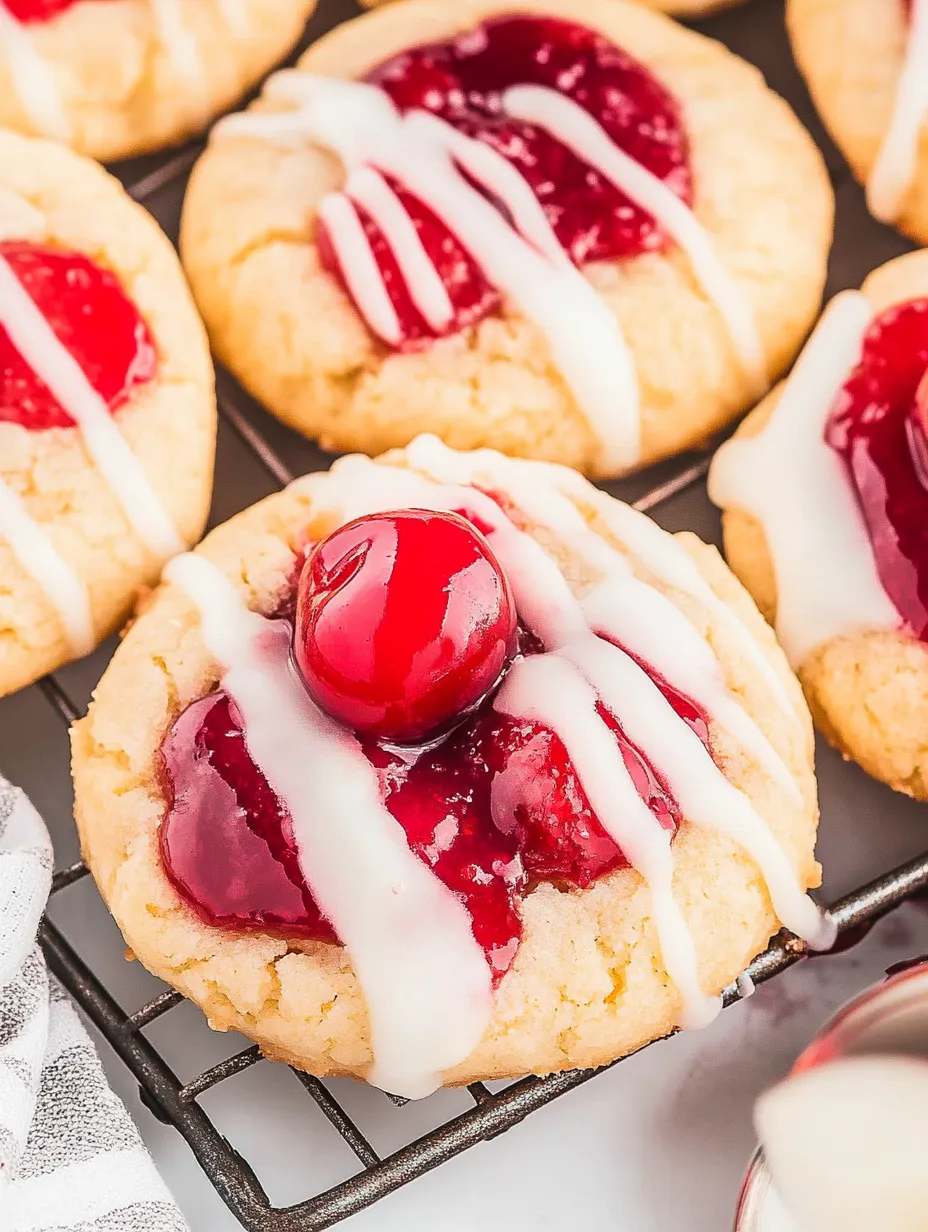
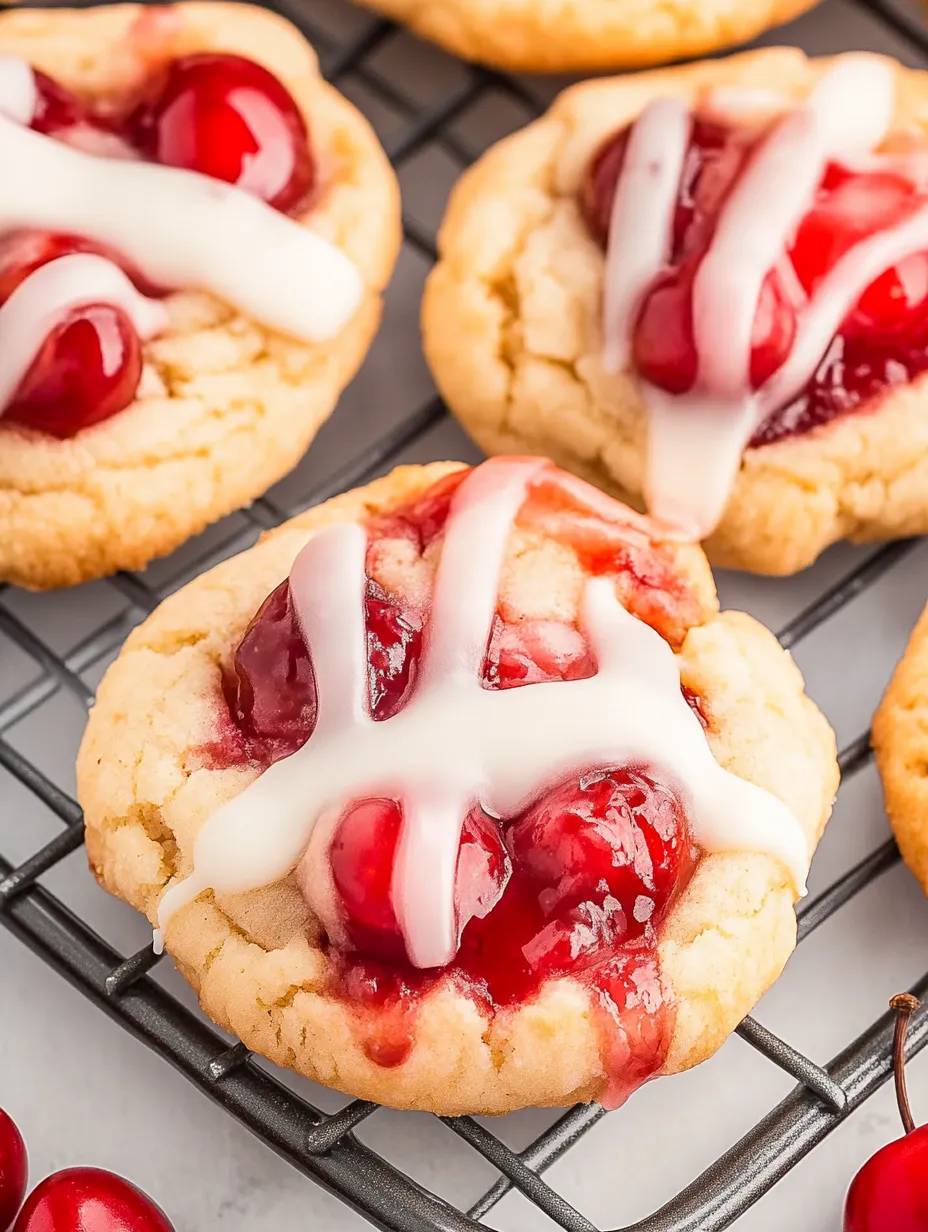
These cherry pie cookies are my family's favorite shortcut to homemade pie flavors without all the work. The buttery cookie base cradles sweet cherry filling and gets finished with a simple vanilla glaze that takes these treats to the next level. Perfect for potlucks, holidays, or anytime you need a quick sweet treat with maximum impact.
I first made these cookies when I needed a last minute dessert for a neighborhood gathering. Everyone asked for the recipe, and now they're requested at nearly every family function we host.
Ingredients
- Unsalted butter softened to room temperature provides the perfect rich base for these cookies
- Granulated sugar adds just the right sweetness without overpowering the cherry flavor
- Large egg binds the dough and adds structure
- Vanilla extract enhances the flavor of both the cookie and the glaze
- All purpose flour creates the perfect cookie texture look for unbleached for best results
- Baking powder gives a slight lift to keep the cookies from being too dense
- Salt balances the sweetness and enhances all flavors
- Cherry pie filling provides the star flavor use good quality for best results
- Powdered sugar creates a smooth glaze that hardens beautifully
- Milk thins the glaze to the perfect consistency
Step-by-Step Instructions
- Prepare Your Oven and Baking Sheets
- Preheat your oven to 350°F and line your baking sheets with parchment paper. This temperature creates the perfect environment for cookies to rise slightly while maintaining their thumbprint shape. The parchment prevents sticking and makes cleanup easier.
- Create the Cookie Base
- Cream together the softened butter and sugar until the mixture becomes notably lighter in color and fluffy in texture, about 3 minutes with an electric mixer. This incorporates air which helps create the perfect cookie texture.
- Add Wet Ingredients
- Mix in the egg and vanilla extract until fully incorporated. The egg should disappear completely into the butter mixture, creating a smooth, glossy appearance. This will take about 1 minute of mixing.
- Incorporate Dry Ingredients
- Whisk together flour, baking powder, and salt in a separate bowl to ensure even distribution of leavening agents. Add this mixture gradually to your wet ingredients, mixing on low speed just until combined. Overmixing at this stage will develop too much gluten and create tough cookies.
- Form the Cookies
- Use a tablespoon or cookie scoop to portion the dough onto prepared baking sheets, spacing them about 2 inches apart. The cookies will spread slightly during baking. Create a deep indentation in the center of each dough ball using your thumb or the back of a measuring spoon.
- Add the Cherry Filling
- Spoon cherry pie filling into each indentation. Use about 1 teaspoon per cookie, being careful not to overfill as the filling may bubble and spill over during baking. Try to get at least one cherry in each cookie for the best presentation.
- Bake to Perfection
- Bake for 12 to 15 minutes, watching carefully. The cookies are done when the edges turn a light golden color while the centers remain soft. Rotating the pan halfway through promotes even baking.
- Cool Properly
- Allow the cookies to cool on the baking sheets for 5 minutes. This gives them time to set up before moving them to a wire rack to cool completely. Moving them too soon can cause them to break apart.
- Create the Glaze
- Once cookies are completely cool, whisk together powdered sugar, milk, and vanilla until smooth and pourable. Adjust consistency by adding more milk if too thick or more powdered sugar if too thin.
- Finish with Glaze
- Drizzle the glaze over cooled cookies using a spoon or fork. Allow the glaze to set for about 20 minutes before serving or storing.
 Save
Save
The cherry filling is truly what makes these cookies special. My grandmother taught me that good quality cherry pie filling makes all the difference in these cookies. She used to make her own from sour cherries in her backyard, but a good store bought variety works wonderfully when cherries aren't in season.
Storage and Shelf Life
These cherry pie cookies will stay fresh in an airtight container at room temperature for up to 3 days. The key is allowing the glaze to completely set before stacking the cookies with parchment paper between layers to prevent sticking. For longer storage, refrigerate for up to a week, though the cookie base may soften slightly from the moisture in the filling. If you want to freeze them, place unglazed cookies in a single layer on a baking sheet until frozen solid, then transfer to a freezer container. Add the glaze after thawing for the freshest taste and appearance.
Variation Ideas
While cherry is the classic filling, these versatile cookies can showcase whatever fruit you love most. Try blueberry pie filling for a summer twist, or apple pie filling with a sprinkle of cinnamon in the cookie dough for fall gatherings. Chocolate lovers can replace the fruit with a teaspoon of chocolate hazelnut spread in each cookie before baking. For a nutty dimension, add half a teaspoon of almond extract to the dough when using cherry filling. The possibilities are endless and each variation creates a completely different cookie experience while using the same simple base recipe.
Serving Suggestions
These cookies are magnificent on their own, but they truly shine as part of a larger dessert presentation. Serve them alongside vanilla ice cream for a deconstructed cherry pie à la mode experience. For holiday gatherings, arrange them on a tiered plate with other small desserts like chocolate truffles and shortbread for an impressive dessert table. They also pair beautifully with coffee or tea for afternoon gatherings. For an extra special touch, add a small sprig of mint to each cookie just before serving for a pop of color that complements the sweet cherry filling.
 Save
Save
Recipe FAQs
- → Can I use different pie fillings for these cookies?
Absolutely! While cherry filling creates the classic version, you can substitute any fruit pie filling you enjoy. Blueberry, apple, strawberry, or peach fillings all work beautifully with the buttery cookie base and sweet glaze.
- → How do I store these cherry cookies to keep them fresh?
Store completely cooled cookies in an airtight container at room temperature for up to 3 days. For longer storage, refrigerate for up to a week. Place parchment paper between layers to prevent sticking, especially if glazed.
- → Can I freeze these cherry cookies?
Yes, these cookies freeze well for up to 3 months. Freeze unglazed cookies in an airtight container with parchment between layers. Thaw at room temperature and add the glaze fresh before serving for best results.
- → Why did my cookie filling spill over during baking?
Overfilling the thumbprint indentation is the most common cause. Make sure your indentation is deep enough and only fill with about 1/2 teaspoon of cherry filling. Also, ensure your indentations are well-formed before adding filling.
- → How do I make the perfect thumbprint indentation?
For best results, use the back of a rounded measuring teaspoon or your thumb to make a deep, even indentation. If the dough cracks while making indentations, your dough might be too cold - let it warm slightly at room temperature before trying again.
- → Can I make the dough ahead of time?
Yes, the cookie dough can be made up to 2 days ahead and refrigerated. Bring to room temperature before scooping and forming indentations. You can also freeze the shaped, unfilled cookies on baking sheets, then transfer to freezer bags for up to 3 months. Bake directly from frozen, adding 1-2 minutes to the bake time.
