
 Save
Save
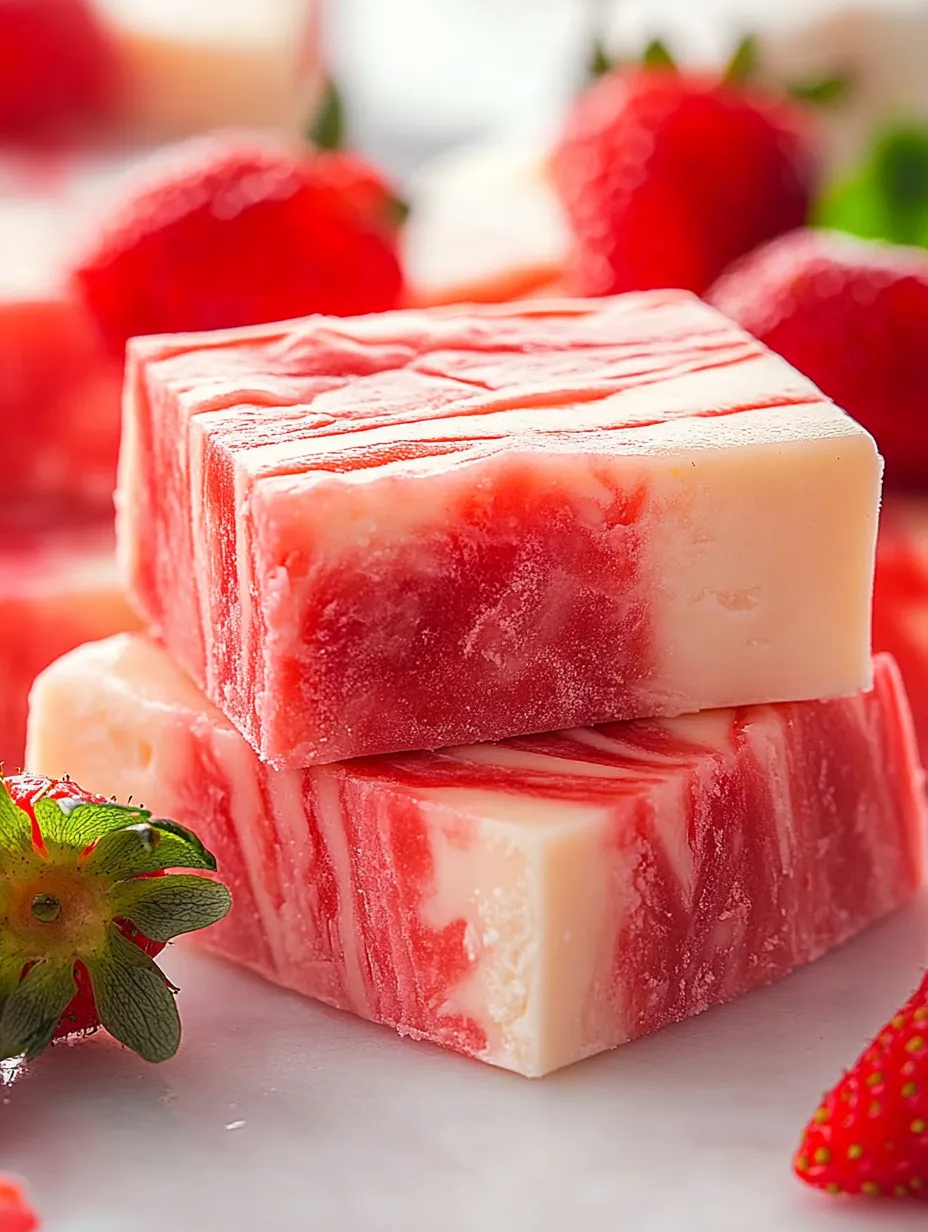
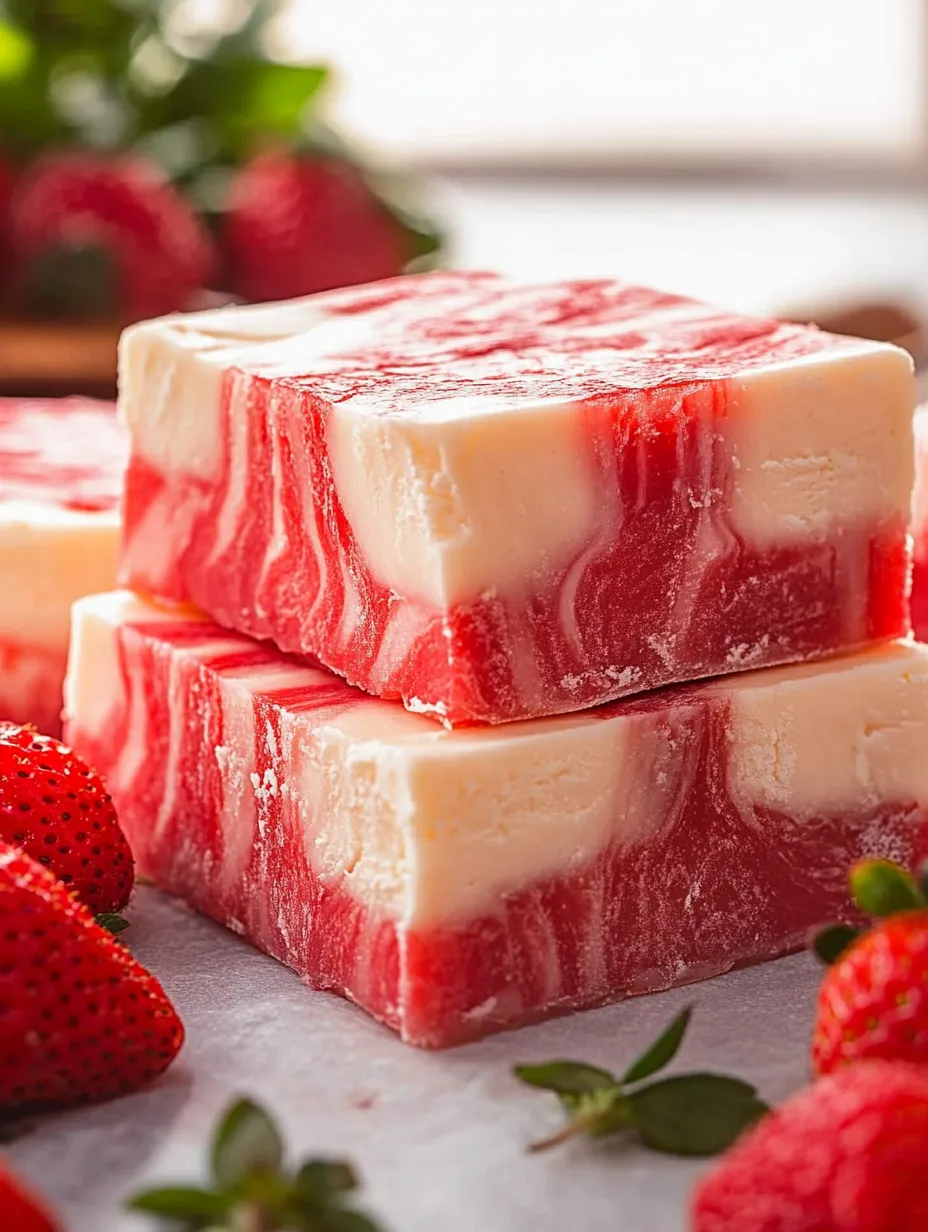
This strawberry and cream fudge has become my summer salvation when I need a sweet treat but can't bear to turn on the oven. The marbled swirls of red and white create a dessert that's as beautiful as it is delicious, with bursts of strawberry flavor dancing through creamy white chocolate.
I first made this fudge for my daughter's end-of-year school party and the pink and white swirls disappeared faster than anything else on the table. Now it's requested for every summer gathering we host.
Ingredients
- Granulated sugar creates the perfect sweetness foundation without being overpowering
- Evaporated milk provides richness without thinning the fudge too much
- Unsalted butter gives that melt in your mouth texture that defines great fudge
- White chocolate chips form the creamy base use high quality chips for best results
- Mini marshmallows add that soft pillowy texture that makes homemade fudge irresistible
- Vanilla extract enhances all the flavors choose pure extract rather than imitation
- Powdered sugar helps stabilize the fudge and creates that signature smooth texture
- Strawberry preserves bring real fruit flavor choose a high quality preserve with visible fruit pieces
- Red food coloring intensifies the strawberry visual choose gel coloring for most vibrant results
- White food coloring helps create the marble effect optional but makes the swirls pop
Step-by-Step Instructions
- Prepare the Pan
- Line your baking dish with parchment paper making sure to leave overhang on at least two sides. This creates handles that will help you lift the entire fudge block out cleanly when set. Press the paper into corners for clean edges.
- Create the Base Mixture
- Combine sugar, evaporated milk, and butter in your saucepan over medium heat. Stir continuously with a wooden spoon or heat resistant spatula, making sure to scrape the bottom of the pan to prevent scorching. The mixture should bubble gently not vigorously boil.
- Achieve Proper Cooking Time
- This 4 to 5 minute cooking period is crucial for the fudge to set properly. Watch for the mixture to thicken slightly and take on a glossy appearance. If you have a candy thermometer, aim for around 234°F for perfect fudge consistency.
- Add White Chocolate and Marshmallows
- Remove from heat completely before adding these ingredients. The residual heat will be enough to melt both components. Stir in a figure eight motion until completely smooth with no visible marshmallow pieces. This usually takes about 2 minutes of stirring.
- Incorporate Vanilla and Powdered Sugar
- Add these while the mixture is still quite warm. The vanilla will create a wonderful aroma and the powdered sugar will help thicken the mixture to the proper consistency. Stir vigorously to prevent any sugar lumps from forming.
- Create the Strawberry Marble
- Carefully fold in the preserves using just 5 to 6 strokes with a spatula. You want distinct swirls of strawberry, not a fully mixed pink fudge. The preserves should create ribbons throughout the white base.
- Perfect the Swirl Technique
- Pour the mixture into your prepared pan, then drop small dots of red food coloring across the surface. Use a toothpick to create figure eight or S patterns for beautiful marbling. Add white food coloring in between red swirls and drag through in the opposite direction for contrast.
- Allow Proper Setting Time
- Refrigerate uncovered for at least 4 hours, though overnight is ideal for the best texture. The fudge needs this time to fully set and develop its flavor. Resist the urge to cut into it early!
- Cut and Serve
- Use the parchment paper handles to lift the entire block out. Cut with a large sharp knife, wiping the blade between cuts for clean edges. For perfect squares, measure with a ruler and score lightly before cutting all the way through.
 Save
Save
The secret to this fudge's incredible texture is the mini marshmallows. My grandmother taught me this trick when I was just eight years old, standing on a stool in her kitchen. She explained that while professional candy makers use complicated techniques, marshmallows give home cooks a foolproof way to achieve that perfect melt-in-your-mouth quality.
Storage Solutions
Store your strawberry and cream fudge in an airtight container in the refrigerator for up to two weeks. Place parchment paper between layers if stacking to prevent sticking. For longer storage, this fudge freezes exceptionally well for up to three months. Cut into individual squares before freezing, then wrap each piece in wax paper before placing in a freezer bag. This allows you to thaw just what you need. Let frozen pieces come to room temperature for about 30 minutes before serving for the best texture and flavor experience.
Flavor Variations
This versatile recipe welcomes creative adaptations based on seasonal fruits or your personal preferences. Swap the strawberry preserves for raspberry, blackberry, or apricot jam for completely different flavor profiles. For chocolate lovers, try adding 1/4 cup of cocoa powder to half the base mixture before swirling with the strawberry portion for a chocolate-covered strawberry effect. During holiday seasons, add a few drops of peppermint extract to create a festive candy cane fudge. The white chocolate base provides a perfect canvas for almost any flavor combination you can imagine.
Gift-Giving Tips
This strawberry fudge makes a thoughtful homemade gift that's sure to impress. For beautiful presentation, cut into neat squares and place in a decorative tin lined with parchment paper. Add a layer of tissue paper over the top before closing. For summer teacher gifts or hostess presents, package in a clear cellophane bag tied with raffia and include the recipe on a decorative card. For an extra special touch, pair with a jar of premium strawberry preserves so they can make their own batch later. These beautiful swirled treats are always well-received at baby showers, especially for girls, when presented on a vintage plate that becomes part of the gift.
 Save
Save
Recipe FAQs
- → Can I use frozen strawberries instead of jam?
Frozen strawberries aren't recommended as a direct substitute for strawberry preserves in this fudge. They contain too much moisture and would affect the texture. Instead, you could cook down frozen strawberries with sugar until thick and jammy, then cool completely before using.
- → How long does strawberries and cream fudge last?
When stored properly in an airtight container in the refrigerator, this fudge will last up to 2 weeks. For longer storage, you can freeze it for up to 3 months, separating layers with parchment paper.
- → Can I make this fudge without food coloring?
Absolutely! The food coloring is purely decorative and doesn't affect the flavor. The strawberry preserves will naturally add some pink coloring to the swirls, though it won't be as vibrant as with food coloring.
- → Why did my fudge not set properly?
The most common reason for fudge not setting is not boiling the sugar mixture long enough. Ensure you boil it for the full 4-5 minutes while stirring constantly. Also, make sure to refrigerate for at least 4 hours, or overnight for best results.
- → Can I use different flavors instead of strawberry?
Yes! This versatile base works well with many flavors. Try raspberry or blackberry preserves, orange marmalade, or even chocolate hazelnut spread for different variations. Adjust food coloring accordingly to match your flavor choice.
- → Is it necessary to use mini marshmallows?
Mini marshmallows are preferred because they melt more quickly and evenly. If you only have regular marshmallows, cut them into smaller pieces before adding to the mixture to help them melt properly.